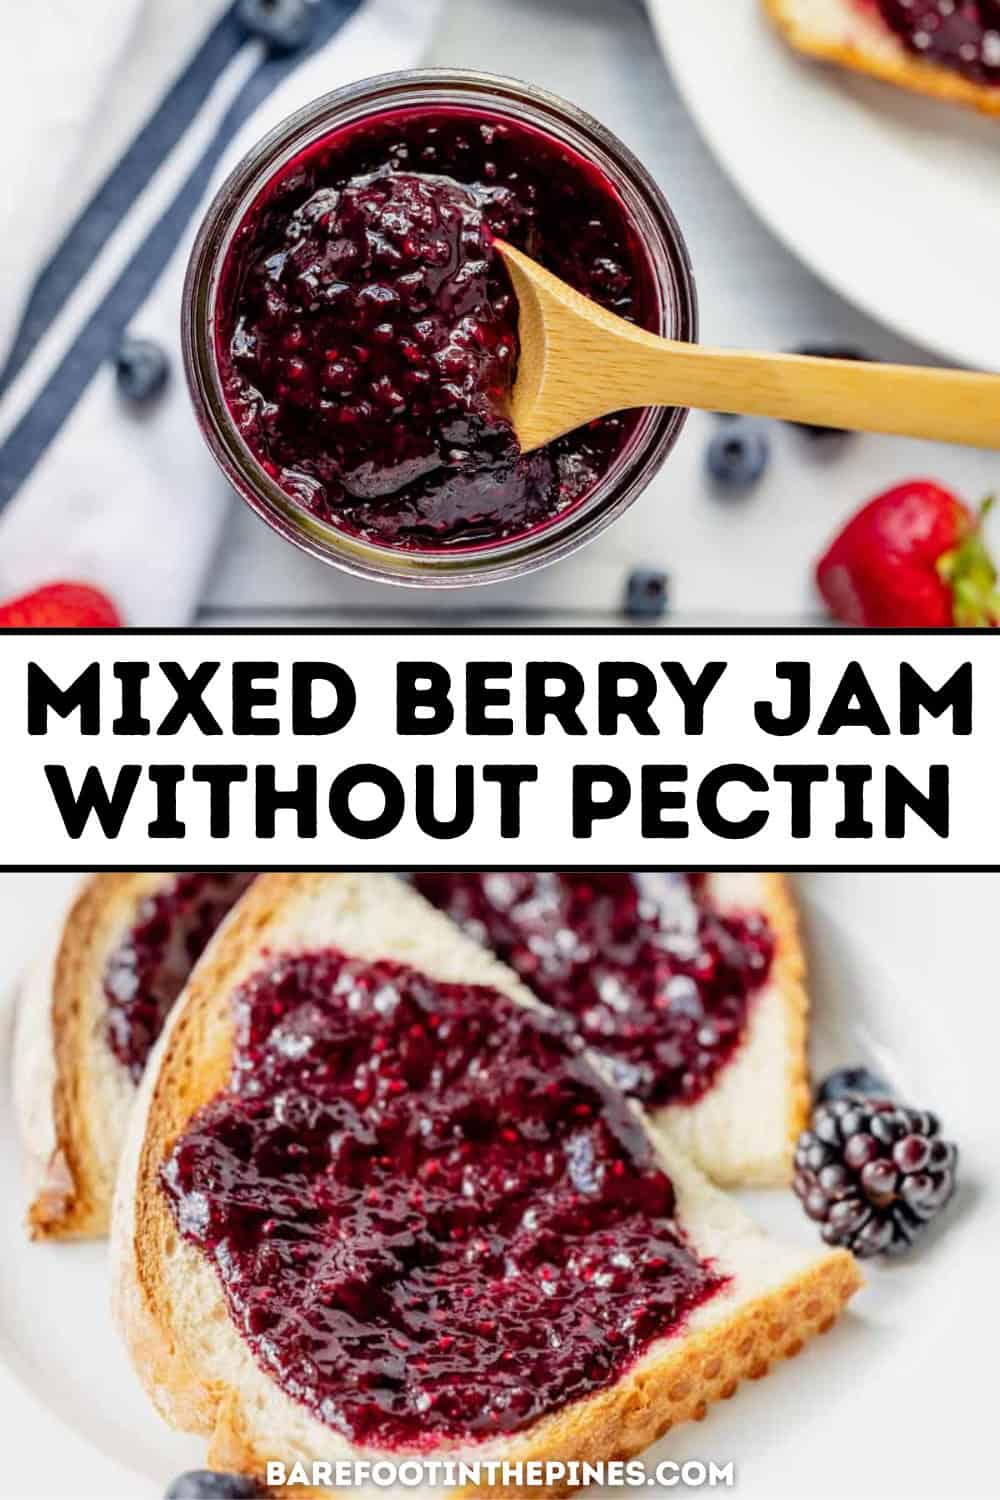
Easy Mixed Berry Jam Without Pectin

This post may contain affiliate links, see my disclosure policy for details.
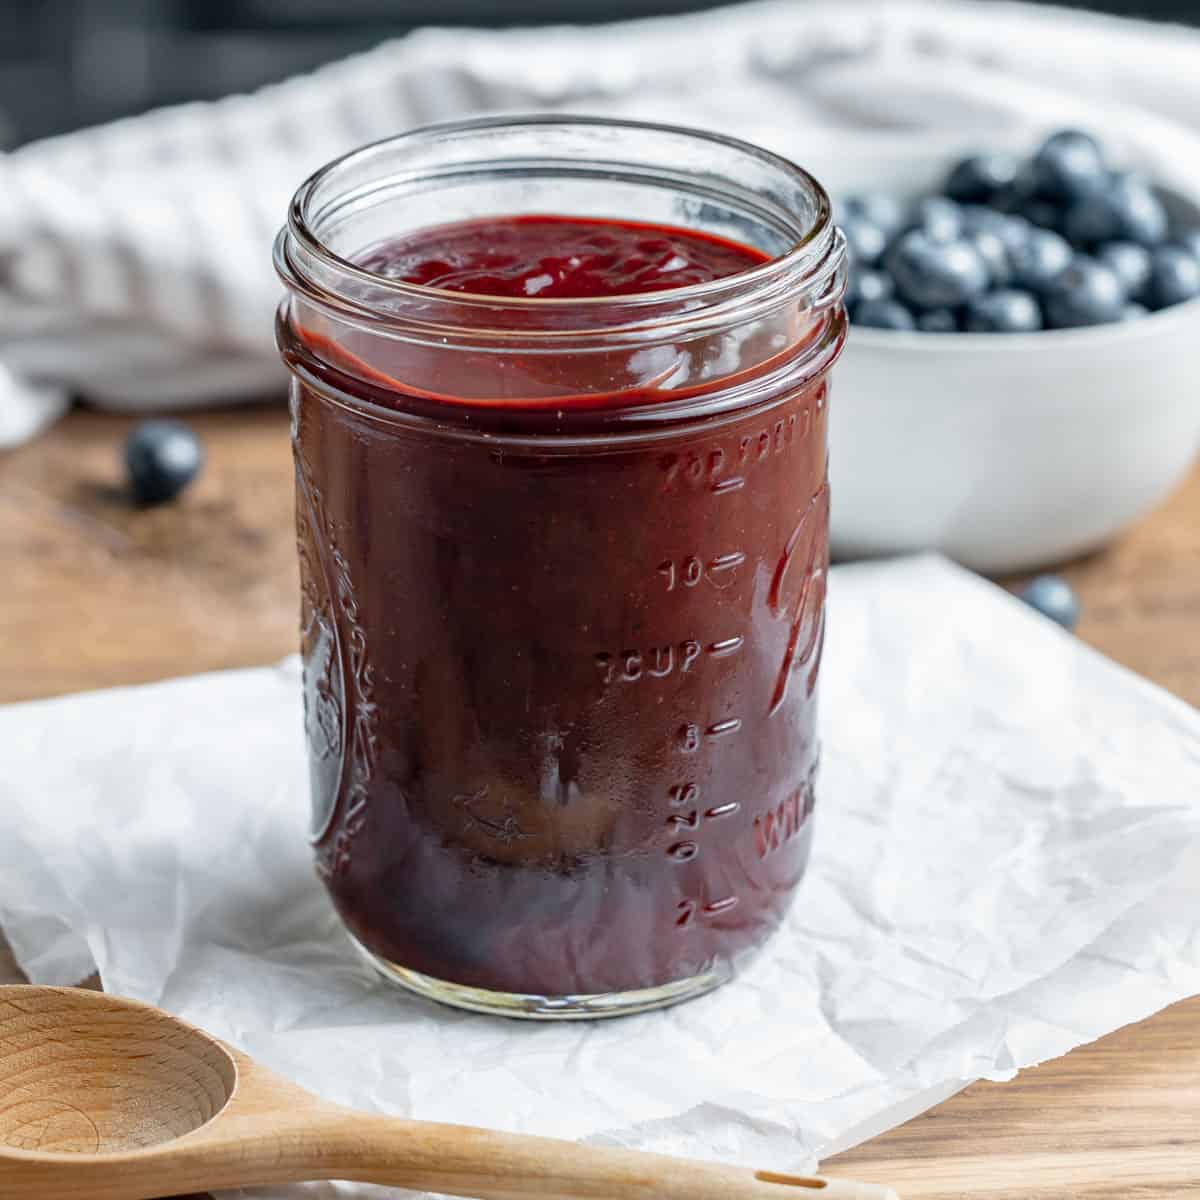
If you’ve ever wanted to make homemade jam without making a huge batch, this easy recipe for mixed berry jam is for you. I’ll show you how to cook down fresh berries into a thick, spreadable jam without using pectin, for a delicious homemade treat without turning it into an all-day project.
In Maine, berry season never feels long enough, so I love turning fresh summer berries into a quick homemade jam while they’re at their best. This small batch version is perfect when you want to enjoy that just-picked flavor without committing to a full canning day.
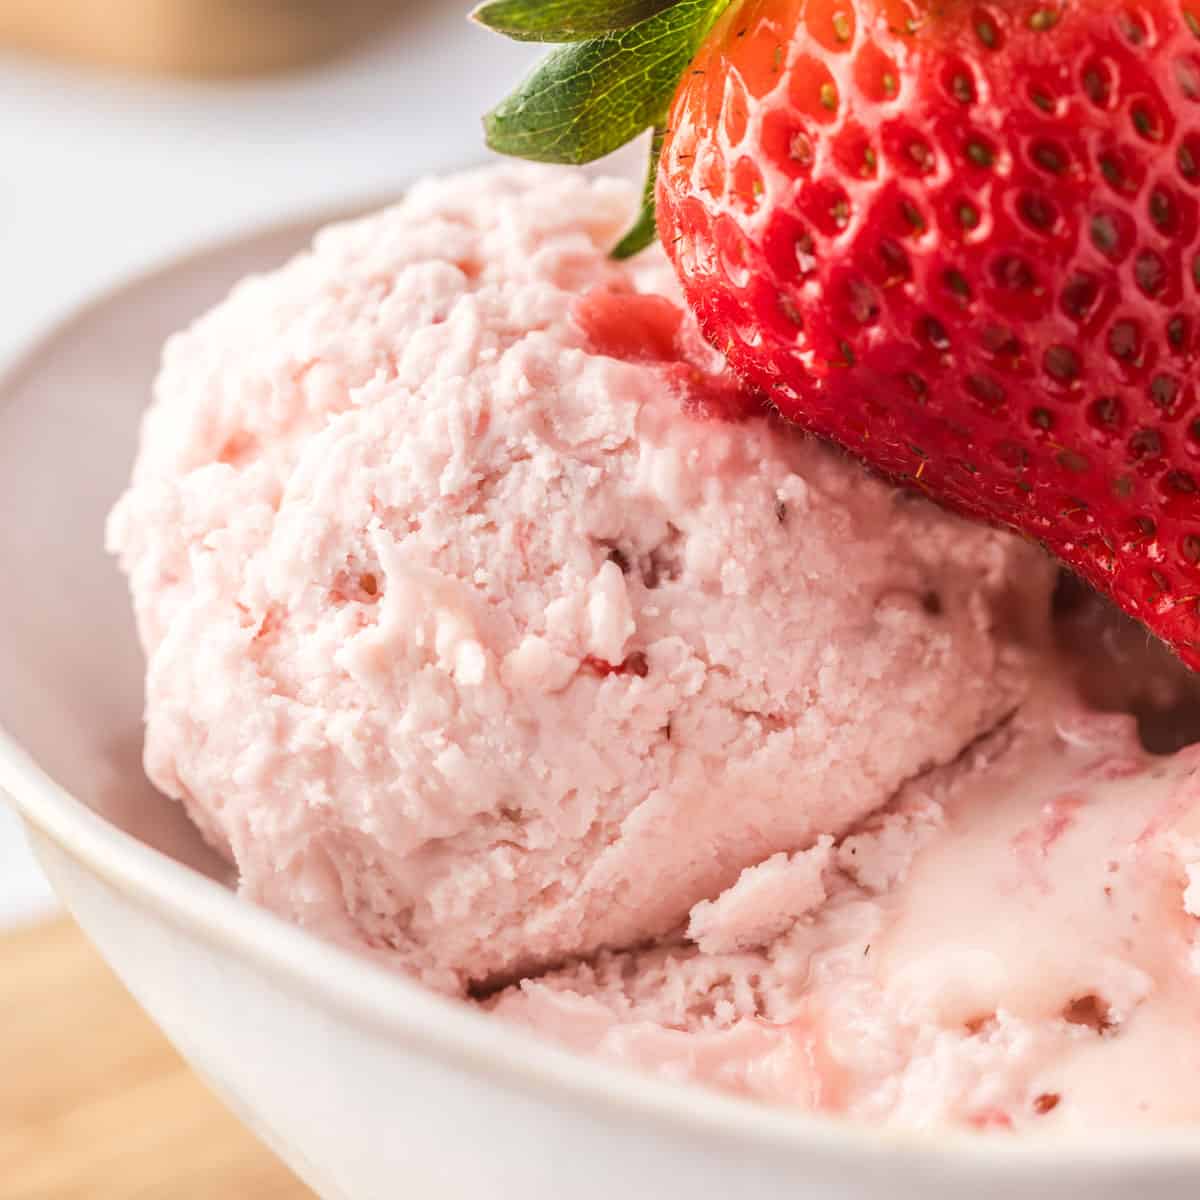
If you love making jam but don’t want to use pectin or break out the canner, my small batch strawberry jam is another easy favorite.
Why You’ll Love This Berry Jam Recipe
- There is no canning required. This is a refrigerator jam that only makes one jar!
- No pectin is necessary. The cooking process cooks out all the moisture of the mixed berries, leaving the jam thick and spreadable.
- No pectin means less sugar! We add just enough sugar to bring out the sweetness of the mixed berries and give the the berry jam a spreadable consistency.
- Frozen berries are as good as fresh in this recipe! If you live in New England like me and berry season is gone in an instant, frozen berries are a great way to make this jam year-round.
Ingredients You’ll Need
- Mixed berries: A mix of strawberries, blueberries, blackberries, and raspberries gives this jam a really nice balance of sweet, bright, and deep berry flavor. You can use fresh berries when they’re in season, or frozen berries in the colder months. No need to thaw them first.
- Granulated sugar: The sugar adds sweetness and helps the berries cook down into a more cohesive, spreadable, jammy consistency.
- Fresh lemon juice: I always add fresh lemon juice to any berry recipes. As the jam cooks, some of that natural brightness can dull a little, and the lemon helps bring back that fresh, vibrant berry flavor.
How To Make Mixed Berry Jam
If using fresh berries, wash and dry the fruit thoroughly and cut the strawberries in half.
In a medium sized saucepan (2 quarts or larger), add the berries, sugar, and 1/4 cup of the lemon juice.

Heat the ingredients over medium high heat until the juices have seeped out and the mixture starts simmering, about 3-5 minutes.
Continue to simmer the berries for about 15 minutes until the fruit softens. Using a spatula or wooden spoon stir the mixture periodically.
Once the fruit has softened, use a potato masher or a fork to start mashing the berries. Mash until no whole fruit remains, but don’t worry about getting everything perfectly smooth at this point.

Continue to simmer the jam over medium-high heat for another 35-45 minutes, stirring often to prevent scorching. Turn down the heat to medium if the mixture bubbles too furiously.
During the last few minutes of cooking, the jam will start to sputter a lot, and it’s super hot, so be careful!
Important: Stirring will agitate the splatter during the final minutes of cooking, so to keep yourself from getting splashed, remove the pot from the heat, stir the jam, and then return the pot to the burner.
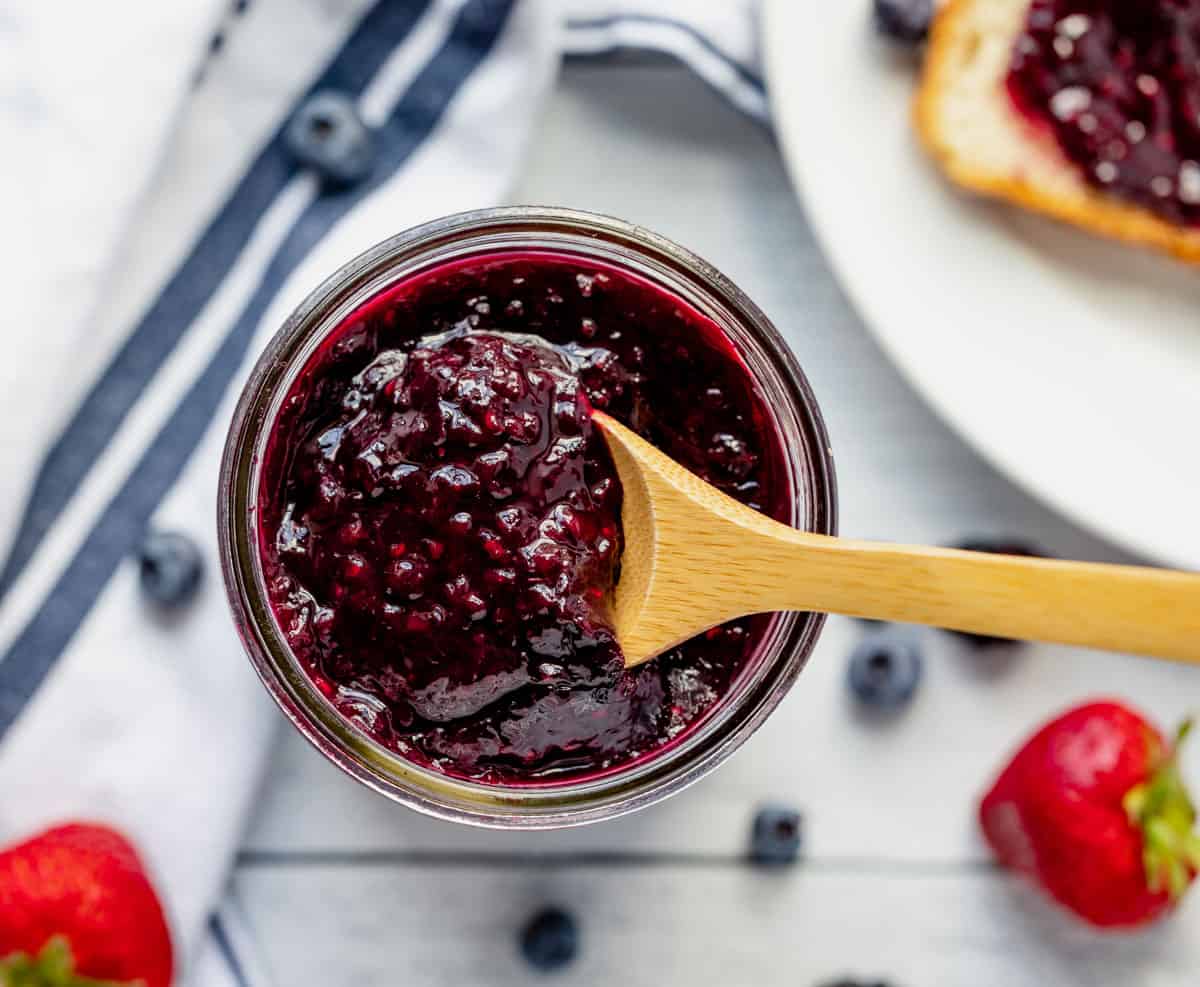
The jam is ready when the mixture looks like it’s “breathing” and the bubbles are smaller and thickened.
The mixture should be as thick as loose pudding and a spoon should leave visible drag marks when moved through the jam. There should be no visible fruit juice, and the foam will have subsided. The mixture will have reduced to 2 1/2-2/34 cups as well.

Remove the jam from the heat and stir in 1 tablespoon of lemon juice. Allow the jam to cool at room temperature.
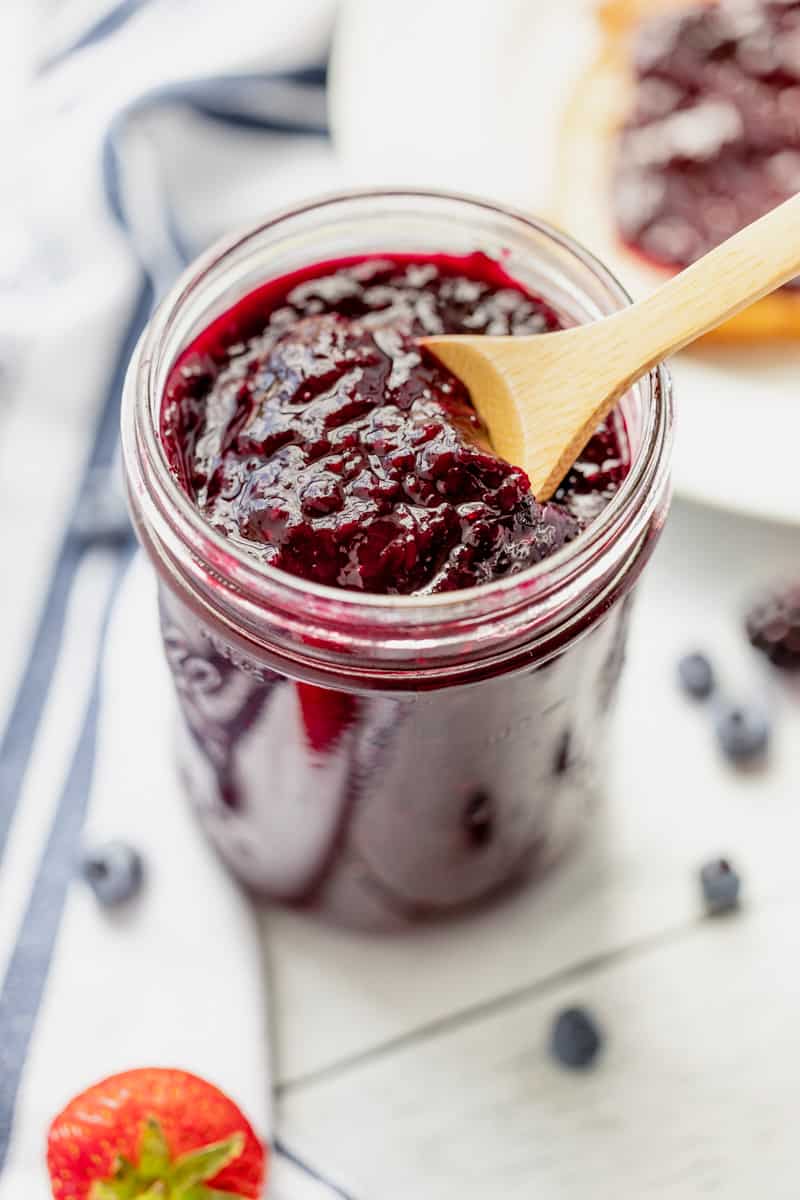
Once the jam has cooled, transfer to a clean jar or container, pop a lid on it, and store in the fridge for up to a month or in the freezer for even longer!
Note: The jam will continue to thicken as it cools.
How To Make Jam With Frozen Berries (Without Pectin)
Prepare the jam as stated above, just swap any of the fresh fruit out for frozen berries, or even do a combo of both fresh and frozen (I’ve done it a bunch of times)! You don’t even need to bother thawing the berries before cooking.
Keep in mind when you’re using frozen berries, it will take a couple of extra minutes for the mixture to come up to a simmer.
Storing your finished jam
Hooray! You made your own jam!
All you need to do is divide the jam between some clean jars or airtight containers and store them in the fridge. This stuff will keep up to a month in the fridge!
You can also store your jam long term by popping it into a freezer safe container and keeping it in the freezer for several months! Make sure to leave about 1″ of head space between the jam and the lid to allow for expansion.
How To Know When Your Jam Is Ready

- The bubbles will get thicker and more syrupy.
- You’ll see a lot of splatter and sputter.
- No more foam will gather on the surface.
- The middle of the mixture will look like it’s “breathing” or puffing.
- After dipping a spoon into the mixture, the jam should cling to it easily and coat the spoon.
- You’ll notice the berry mixture has reduced significantly (it should be between 2 1/2 cups to 2 3/4 cups at the end of cooking).
- Dip a spoon into the mixture and allow the jam to run off. If the mixture “plops” off the spoon and back into the pan, it’s ready. It should not run easily off the spoon and it should not melt back into the mixture instantly
The Jam Plate Test
To test the jam, place a small plate or dish in the freezer about 5 to 10 minutes before the jam is done cooking. Once it’s very cold, spoon a little of the hot jam onto the plate and return it to the freezer for a minute or two, just until cooled but not frozen solid. Tilt the plate or scoop the jam with a butter knife. If it holds its shape and doesn’t run easily, the jam is ready. If it still looks too thin, keep simmering the jam for another 10 minutes and test it again.
Serving Suggestions

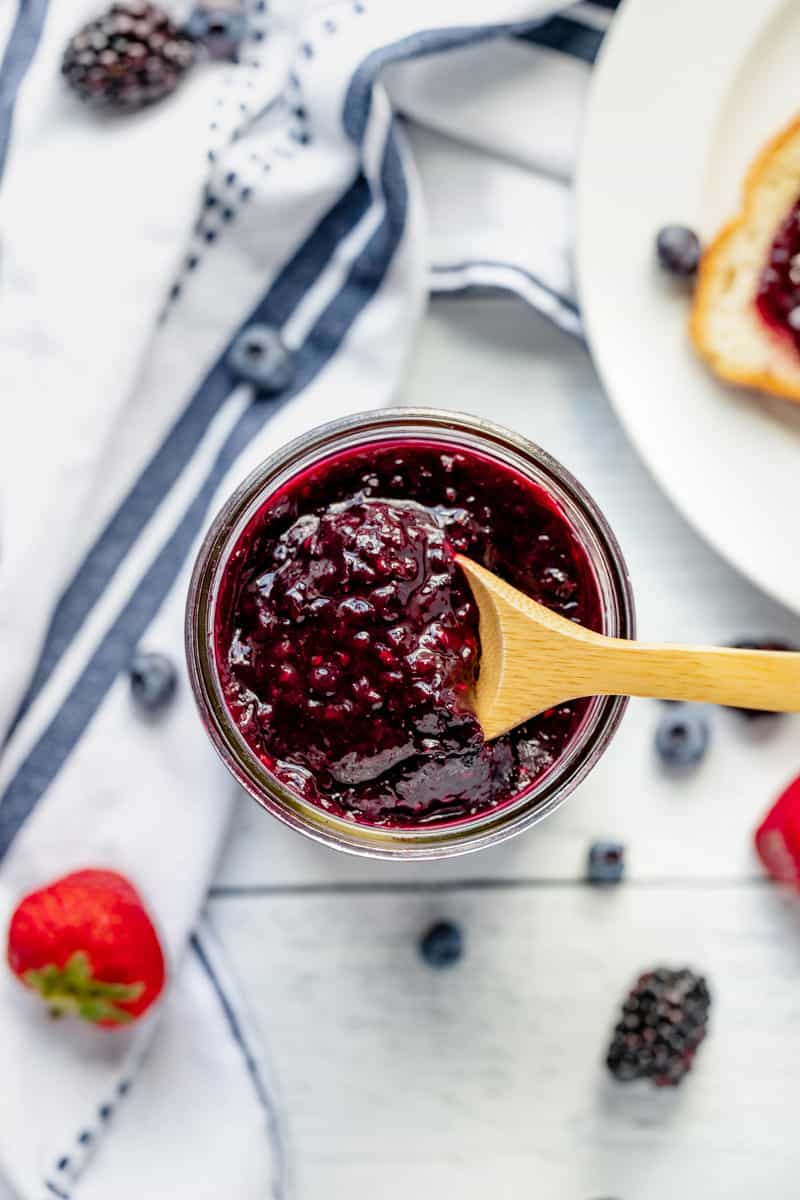
This jam is best slathered on thick sliced homemade bread, a buttery biscuit, or toasted english muffins.
For a fancy brunch party, serve this jam alongside some overnight french toast, croissants, vanilla scones, lemon poppy seed scones, and mixed berry muffins.
You can also use your jam as a topping for a baked Dutch baby, buttermilk pancakes, and waffles.
And don’t think this jam is solely for breakfast foods! Serve your mixed berry jam as a condiment for herby grilled pork or savory roasted chicken for a truly delightful experience.
Tips and notes:
- If using fresh fruit, make sure to use ripe berries that are in season. Using out of season fruit will make the jam taste flavorless. If you want to make this jam in the winter, use frozen mixed berries instead.
- Use fresh lemon juice, it has a brighter flavor.
- Be careful towards the end of cooking, the jam will splatter. It’s important to stir the jam so it doesn’t scorch at this point, since most of the fruit juice will have been cooked out. However, stirring seems to agitate splatter, and this jam is HOT. To prevent getting stung by hot jam, remove the pot from the burner, give the mixture a stir and return the pot to the burner to finish cooking.
- If you plan on freezing the jam in a glass jar, leave about 1″ of headspace between the lid and the jam. If you don’t, the jar will explode in the freezer. You may need to separate your jam between two pint jars or three half pint jars.
- The mixture will be as thick as loose pudding when it’s hot and will thicken up to a proper spreadable jam once it’s cooled.
Why is my jam runny?
In the case of this recipe, the jam simply wasn’t cooked long enough. Since we’re not adding pectin, we need to cook most of the moisture out of the fruit, reducing it to a paste. If you find your jam is still a little runny, pop it back into a pot, and bring it to a simmer. Once bubbling, let it cook down for 10-15 minutes.
Can you make jam without pectin?
Yes! I don’t use pectin for my one jar jams, like this berry jam recipe and my strawberry jam recipe. Instead of using powdered pectin, we use the natural pectin found in the mixed berries themselves and the pectin found in lemon juice.
To make sure the jam is nice and thick and spreadable, a long cooking period cooks out the excess moisture and leaves us with a very concentrated and thick berry spread.
One bonus of leaving out the powdered pectin is that we can reduce the amount of sugar that would normally be added, letting the natural sweetness of the berries do most of the work. Pectin needs sugar and acid in order to thicken, so that’s why you’ll see A TON of sugar listed in most homemade jam recipes.
More Berry Recipes You’ll Love:


Save This Recipe
Just enter your email below and we will send this recipe right to your inbox, plus we will send more yummy recipes and ideas.
Mixed Berry Jam (No Pectin)
Ingredients
- 16 oz of strawberries, about 3 cups coarsely chopped
- 10 oz of blueberries, 2 cups/pint
- 6 oz of blackberries, 1 heaped cup
- 6 oz of raspberries, 1 heaped cup
- 1 cup of granulated sugar
- 1/4 cup + 1 tablespoon of fresh lemon juice
Instructions
- Wash and dry the fruit thoroughly and cut the strawberries in half (skip if using frozen berries).
- In a medium sized saucepan (2 quarts or larger), add the berries, sugar, and 1/4 cup of the lemon juice.
- Heat the ingredients over medium high heat until the juices have seeped out and the mixture starts simmering, about 3-5 minutes.
- Continue to simmer the berries for about 15 minutes until the fruit softens. Using a spatula or wooden spoon, stir the mixture periodically.
- Once the fruit has softened, use a potato masher or a fork to start mashing the berries. Mash until no whole fruit remains, but don't worry about getting everything perfectly smooth at this point.
- Continue to simmer the jam over medium-high heat for another 35-45 minutes, stirring often to prevent scorching. Turn down the heat to medium if the mixture bubbles too furiously.
- During the last few minutes of cooking, the jam will start to sputter a lot, and it's super hot, so be careful! Important: Stirring will agitate the splatter during the final minutes of cooking, so to keep yourself from getting splashed, remove the pot from the heat, stir the jam, and then return the pot to the burner.
- The jam is ready when the mixture looks like it's “breathing” and the bubbles are smaller and thickened.
- The mixture should be as thick as loose pudding and a spoon should leave visible drag marks when moved through the jam. There should be no visible fruit juice, and the foam will have subsided. The mixture will have reduced to 2 1/2-2/34 cups as well.
- Remove the jam from the heat and stir in 1 tablespoon of lemon juice. Allow the jam to cool at room temperature.
- Once the jam has cooled, transfer to a clean jar or container, pop a lid on it, and store it in the fridge for up to a month or in the freezer for even longer!


Hi Michelle, if using frozen mixed berries, do you need to thaw and drain the berries?
Nope! You can use them in their frozen stage, it just may add 1-2 minutes to the cooking time.
Approximately how much jam will this make?
Just under 3 cups
Can you put these in a water bath to keep longer in my pantry?
I have not tried it! But it should work with standard canning instructions for jam. Just test the ph to make sure the jam has enough sugar and acid for canning. Since there’s no pectin, there is a lot less sugar than typical jam recipes. Let me know if it works!
Is this recipe able to be doubled?
Yes!
Would honey work as a sugar substitution?
I haven’t tried it, but if you do let me know how it turns out!
My super “picky” eater ate this with no problem! I thought the lemon juice might be too much for my kiddo on the autism spectrum with texture/oral sensitivities but thankfully I found a recipe that worked without ingredients like citric acid that I try to avoid. I did use a food processor after it all cooled down as my kiddo does not like chunks.
I might try to thaw it all out first then blend it before making it the next time though. Any tips if I try it that way?
That’s a great idea! You’ll just want to make sure it cooks long enough to thicken, so just test it when the bubbles start to slow. I keep a plate in the freezer and add the jam to it to set it fast to check consistency. If it’s too thick, just boil it 5-10 min longer!
I’m excited to try this recipe. I’m planning on gifting this jam for Christmas presents in little jars. If I do so, would the jam be okay to sit wrapped for a few hours before being refrigerated? I’m gifting in a secret Santa setting so it would need to sit wrapped until whoever ends up with it and take it home and put it in the fridge.
It will be totally fine to sit out! I hope you love it!
I by accidently added the extra tablespoon of lemon juice in the beginning will that make a huge difference? I should have fully read but i got distracted……..
You’ll be totally fine!
Hi! Can this jam be considered “shelf stable” to use under cottage food laws? Wondering how long it can stay unrefrigerated.
That I can’t accurately answer, because the cottage food laws vary by state. But from a serving standpoint, the jam can sit out at a breakfast gathering for up to 4 hours. Because there’s no pectin involved, this jam has less sugar and acid (preservatives essentially) than a traditional canned jam.
I added extra sugar and cooked it again since I was using this to fill donuts for my daughter, and she wanted it sweeter. However, I liked how not-too-sweet it was! For my own peace of mind I looked up the jelling/jam temperature (216F), rather than just go by sight.
What would the canning specifications be if I wanted it more shelf stable?
I would use a water bath canning method. So after sanitizing the jar, fill it with jam, wipe the rim and lower the jam into boiling water. Cover and boil for 10 minutes. Then turn the heat off and let it sit in the hot water for 5 more minutes. After that carefully lift out of the hot water and let the jar lid pop. And you’re good to go!