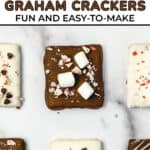
Chocolate Dipped Graham Crackers
This post may contain affiliate links, see my disclosure policy for details.
A simple treat that can be dressed up or dressed down for any occasion! Homemade Chocolate Covered Graham Crackers are incredibly easy to make and even easier to eat. They make a perfect gift for loved ones!
As a mom, I know that baking projects with kids can start out exciting but sometimes lose steam pretty quickly. That’s why I created these chocolate-covered graham crackers—an easy treat with steps simple enough for kids to follow from start to finish. I’ve tested this recipe to make sure it’s practical and leaves plenty of room for creativity, whether it’s sprinkling on toppings or drizzling with chocolate. It’s a fun way to keep kids engaged in the kitchen while ending up with a treat the whole family can enjoy.
Why You’ll Love These Fudge Covered Graham Crackers
- These are a no bake treat, so they’re quick to make and great for beginners.
- They set quickly, so if you’re working with kids, they won’t lose interest.
- The topping options and decorating opportunities are endless! You can be super creative and festive around special occasions.
- They make a great gift to give out around the holidays!
Chocolate Covered Graham Cracker Ingredients
- 16 oz of semisweet or bittersweet baking chocolate (I like the Ghiradelli Baking Bars)
- Graham Crackers (the Nabisco brand are my favorite)
- Sea Salt
- Various toppings like melted white chocolate, chopped peppermint candy, mini chocolate chips, sprinkles, etc…
What Kind of Chocolate Should I Use?

I’ve tested a few different chocolates for this recipe and my favorite is a bar of baking chocolate. This is the brand I used.
I like the way it melts. It coats the graham crackers with a nice even, thin layer, and it sets up really firm.
However, if you can’t find the baking bars, chocolate chips totally work in this recipe too! If you have it, I recommend adding 2 tablespoons of coconut oil to 2 cups of chocolate chips for the coating. It coats the grahams easier and cuts the richness of the chocolate chips a bit.
If you don’t like the taste of coconut oil, you can just use straight chocolate chips or dark chocolate flavored melting wafers too!
Makes 16 Chocolate Covered Graham Squares

White Chocolate Covered Graham Crackers
This will make about 16 graham squares
- 4 cups of Ghiradelli White Melting Wafers
- Graham Crackers – you can use honey grahams, cinnamon graham crackers, or chocolate graham crackers.
- Various Toppings- including sprinkles, candy canes, mini chocolate chips, and mini marshmallows.
Tip: using the melting wafers will keep the chocolate from blooming. This hardens crisp and keeps it’s shine without tempering.
Milk Chocolate Covered Grahams
- 16 oz of milk chocolate baking chocolate
- Graham Crackers (the Nabisco brand are my favorite)
- Sea Salt
- Various toppings like melted white chocolate, chopped peppermint candy, mini chocolate chips, sprinkles, etc…
Tip: milk chocolate is softer than bittersweet or the white chocolate melts above. You can use 4 cups of chocolate chips, or keep graham crackers chilled until eating.
How To Make Chocolate Covered Graham Crackers
Break up your chocolate bars into a heatproof bowl and over a pan of barely simmering water. Do not boil!
Slowly allow the chocolate to melt, stirring every once and a while, until the chocolate is completely melted and smooth.
Remove your chocolate from the heat and repeat with the white vanilla melts (if using) in a separate bowl.
To dip the crackers, remove a sheet of graham crackers from the package and carefully break in half to make two squares.
Dip one square into the chocolate mixture and using a fork, gently flip and coat in the melted chocolate.
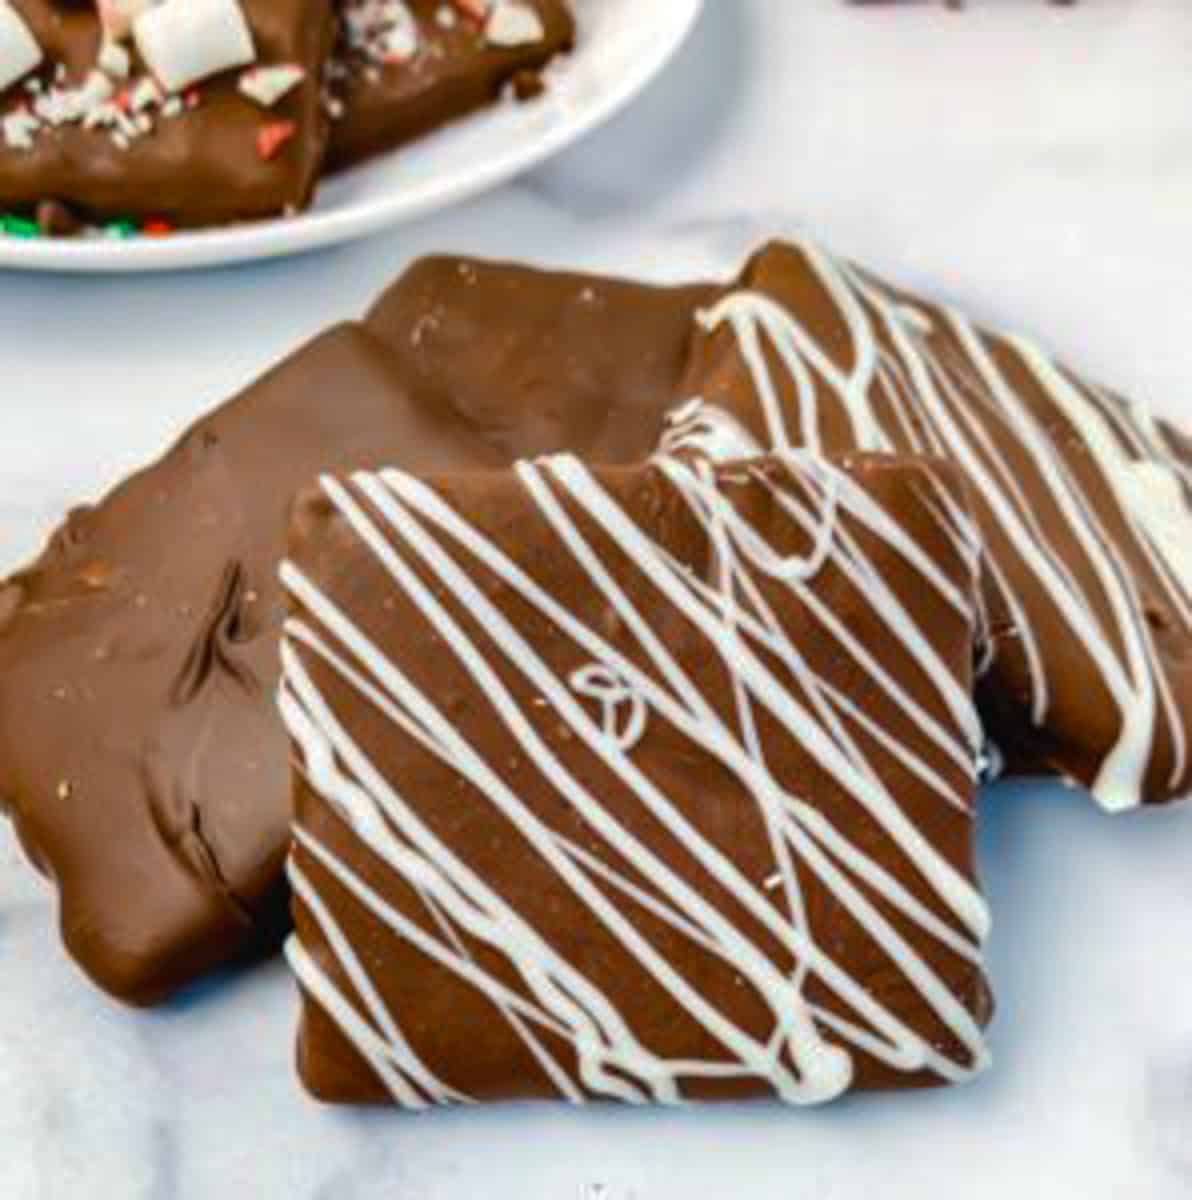
Once the graham cracker looks fully coated, lift out of the bowl with a fork and allow the excess chocolate to drip off back into your dipping bowl. Also give the graham cracker a little jiggle while it’s sitting on the fork to get even more chocolate off and to smooth out the top.
Gently set the graham cracker down onto a parchment lined sheet pan and repeat the dipping and jiggling process until you run out of grahams and chocolate.

If using vanilla candy melts, follow the same dipping instructions.
Once all your graham crackers are coated, you can decorate with various candy toppings or a sprinkle of sea salt.
Pop your decorated crackers in the fridge until the chocolate is no longer wet to the touch.
After an hour or two, remove from the fridge and allow to set completely at room temperature, loosely covered or even uncovered, overnight before packaging or storing.
Tips For Making Chocolate Dipped Graham Crackers
This recipe is super simple, but there are a couple things to keep in mind since you’re working with chocolate.
Tip #1- Make sure you let that chocolate set! Like really, really set. We’re not tempering our chocolate here, so it really needs time to firm up enough to where it won’t melt all over your fingers. I recommend letting these crackers set overnight.
I actually chill my crackers immediately after they’re dipped for an hour or two and then let them sit out overnight on the counter, lightly covered, to fully set to my room temperature conditions.
You can totally let them sit in the fridge overnight to set too. I did find that when they came up to room temp, the chocolate got a little soft, but then harden right up after a couple hours.
If you wanted to temper your chocolate, which is what gives you a snappy, shiny exterior, you can find instructions here!
Tip #2- Make sure to shake off as much excess chocolate as possible. After dipping your graham crackers in your chocolate, allow the excess chocolate to drip back into your dipping bowl. Make sure to give your graham cracker a little jiggle while you’re lifting it out of your melted chocolate too. This will get off even more excess chocolate and it will smooth out the top of your graham cracker, making it look nice and even.
Tip #3- Allow your grahams to set on parchment paper or wax paper. Don’t put the chocolate on a baking sheet directly or on a cooling rack. You may run into some sticking issues.
Toppings For Chocolate Covered Graham Cookies

You can definitely leave your chocolate covered graham crackers pure and add a touch of sea salt to the top. But if you wanted to really jazz them up to make a fun snack for the kiddos or to make a really special gourmet treat for a loved one, here is a list of topping suggestions that will make these treats extra special:
- Flaky Sea Salt or Himalayan Pink Salt
- Chopped chocolate covered espresso beans
- Pieces of peppermint candy cane or chopped up peppermint Hershey kisses
- Mini Chocolate Chips
- A drizzle of white chocolate
- Sprinkles
- Chopped M&Ms or any other candy coated chocolate
- Reese’s Pieces, Reese’s Peanut Butter Cups, or peanut butter chips
- Marshmallows–I use mini marshmallows and cut them into small pieces with kitchen shears
- Edible gold flakes
Whatever toppings you choose, make sure to add them to the graham crackers before the chocolate sets!
How to Store Chocolate Covered Graham Crackers
After the chocolate has completely set, your chocolate covered graham crackers can be packed into cute cellophane bags for gift giving or packed in a cookie tin!

If you are keeping these for yourself (and you totally should), store them in an airtight container, with some parchment or muffin liners in between each graham.
Chocolate covered grahams will be ok to leave at room temp if your house is not particularly hot (above 70). If you’re living in a warm or humid climate, keep these guys in the fridge.
If storing on the counter, these guys may start to bloom (little spots start to show up) around day 3. This is completely normal for chocolate that isn’t tempered. There is nothing wrong at all with your grahams, and they’ll still taste delicious! Storing in the fridge may help to slow this process!
Other Recipes You May Like
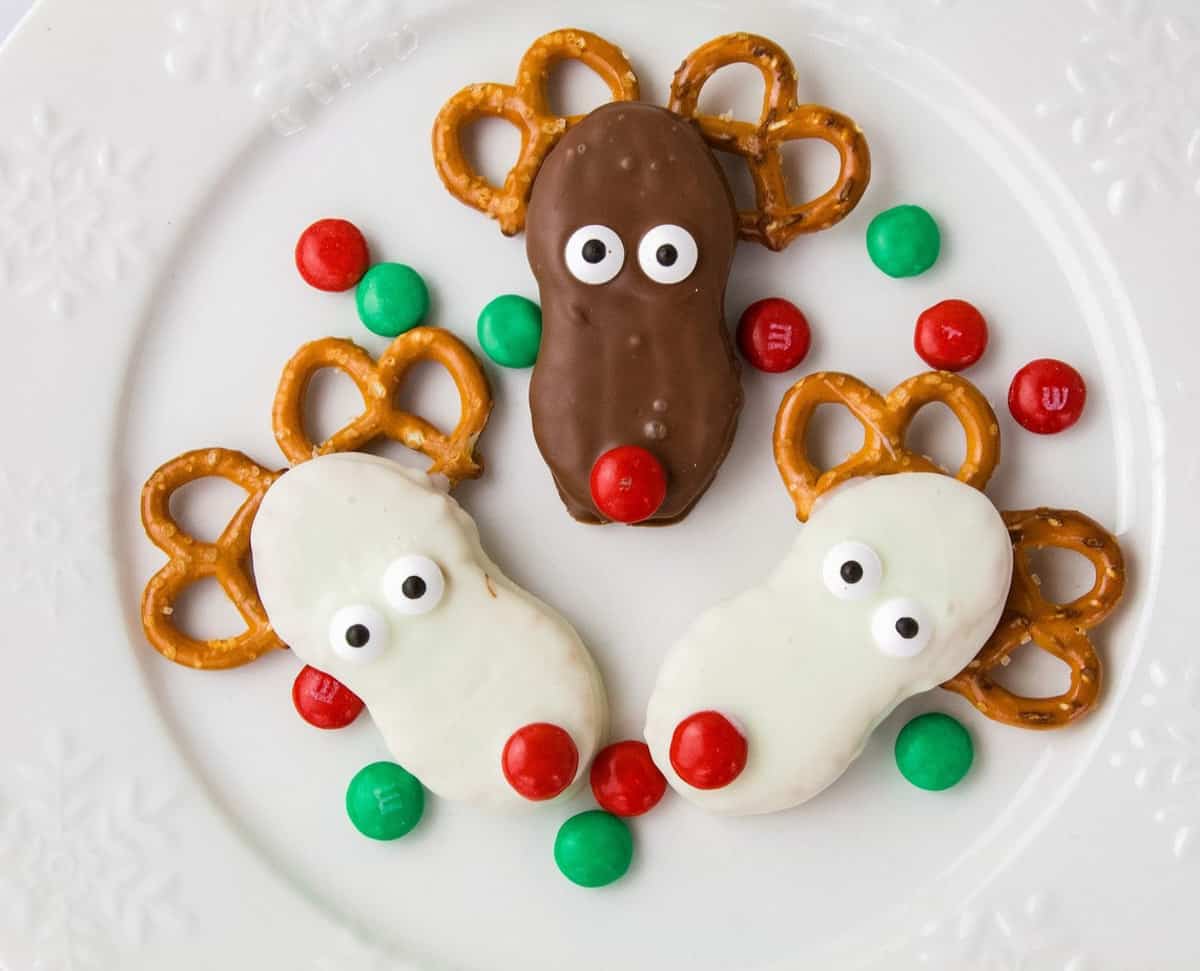
Peanut Butter Red Nosed Reindeer Cookies
Save This Recipe
Just enter your email below and we will send this recipe right to your inbox, plus we will send more yummy recipes and ideas.

Chocolate Covered Graham Cracker
Ingredients
- 16 oz of semisweet baking chocolate I like the Ghiradelli Baking Bars
- Graham Crackers the Nabisco brand are my favorite
- Sea Salt
- Various toppings like melted white chocolate chopped peppermint candy, mini chocolate chips, sprinkles, etc…
Instructions
- Break up your chocolate bars into a heatproof bowl and set over a pan of barely simmering water. Do not boil!
- Slowly allow the chocolate to melt, stirring every once and a while, until the chocolate is completely melted and smooth.
- Remove your chocolate from the heat.
- To dip the crackers, remove a sheet of graham crackers from the package and carefully break in half to make two squares.
- Dip one square into the chocolate mixture and using a fork, gently flip and coat in the melted chocolate.
- Once the graham cracker looks fully coated, lift out of the bowl with a fork, give it a little jiggle until the top looks smooth, and allow the excess chocolate to drip off back into your dipping bowl.
- Gently set the graham cracker down onto a parchment lined sheet pan and repeat the dipping and jiggling process until you run out of grahams and chocolate.
- Once all your graham crackers are coated, you can decorate with various candy toppings or a sprinkle of sea salt.
- Pop your decorated crackers in the fridge until the chocolate is no longer wet to the touch about 1 to 2 hours.
- Once the chocolate is firm, remove from the fridge and allow to set completely at room temperature, loosely covered or even uncovered, overnight before packaging or storing.


I am 100% going to try this soon!
These look great for the children to help decorate. Should add this to our cookie decorating day!
These look delicious and I need to try these!! Thank you for sharing!
Now THIS is my kind of holiday baking! I like things where you don’t have to measure perfectly 😍😂
These are a favorite treat to buy at SB, so I am definitely going to have to try making these at home! Thanks for all the great tips!
Definitely going to try this with the kids soon!
I hope you love them!