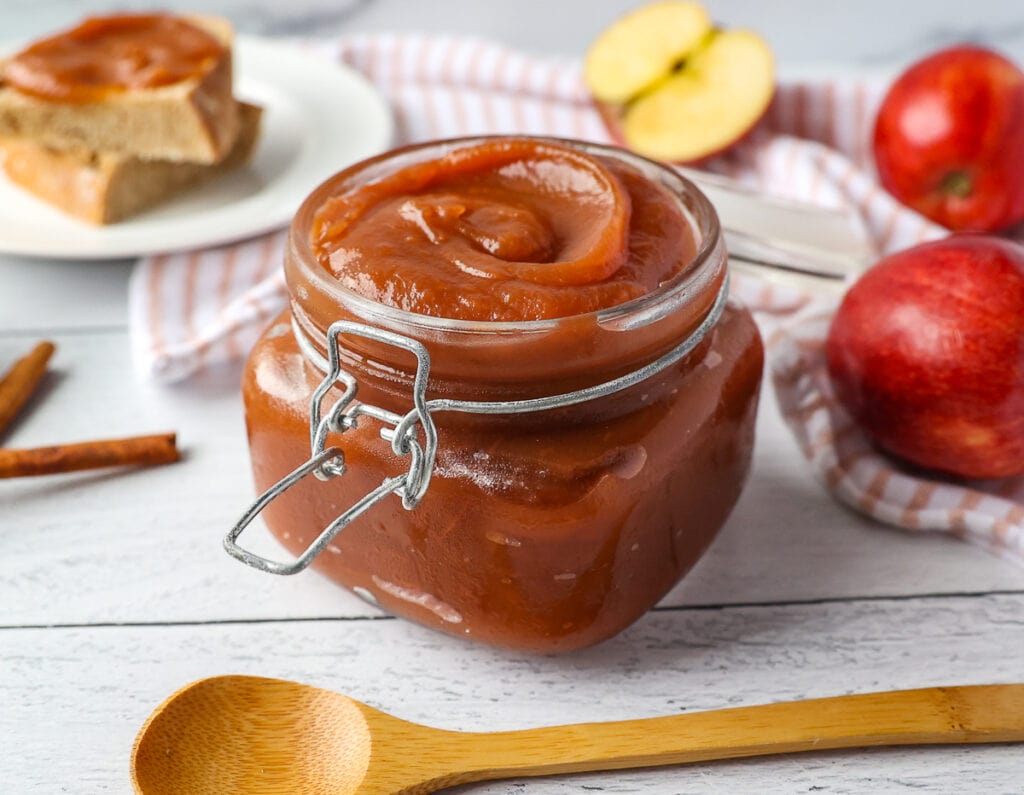
Instant Pot Apple Butter | No Peel Recipe
This post may contain affiliate links, see my disclosure policy for details.
Apple picking is a MUST in our household and one of my new favorite ways to process a lot of apples is making apple butter in the Instant Pot!
It’s that time of year when the leaves start to change and the apple orchards are bursting with sweet, ripe fruit.
What I love about this recipe is that there’s absolutely no peeling involved and the ingredients are incredibly simple and minimal.
After cooking for only a few hours in the Instant Pot, the apple butter comes out wonderfully creamy, thick, and sweet. Perfect for slathering on pancakes, toast, pork chops, or your left shoe. OH and don’t get me started on how AMAZING your house smells while this is cooking…
Here’s how we make it:
How to Make Apple Butter In The Instant Pot
Makes 5 cups of apple butter
Ingredients
- 6 lbs of apples* (mixed varieties including sweet and tart apples)
- 1/2 cup of water
- 1 cup of granulated sugar
- 2 cinnamon sticks
- 2 tablespoons fresh lemon juice + more to taste
*6lbs of apples before coring and chopping.
Instructions
Wash the apples really well.
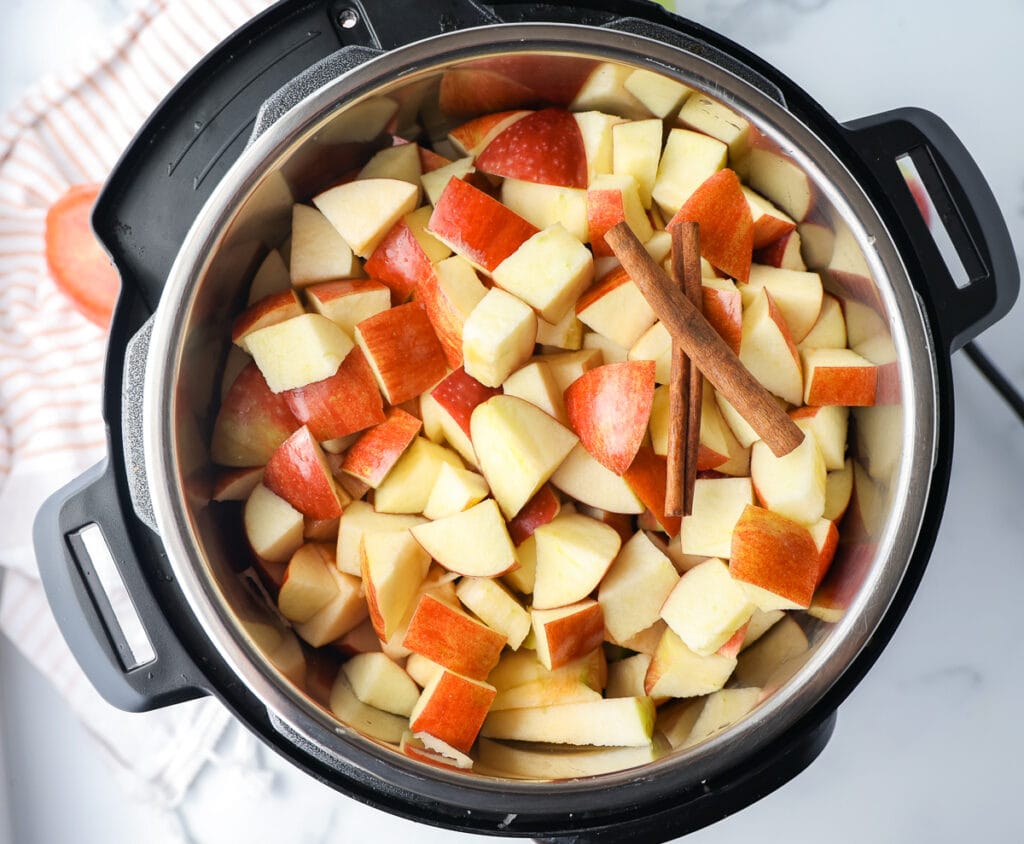
Core and chop apples into one inch cubes. No peeling is necessary.
Add the chopped apples to your Instant Pot. Pour in 1/2 cup of water and add the cinnamon sticks.
Close the lid and make sure the valve is pointed to “sealing”.
Press the “pressure cook” or “manual” button, set to high pressure for 30 minutes.
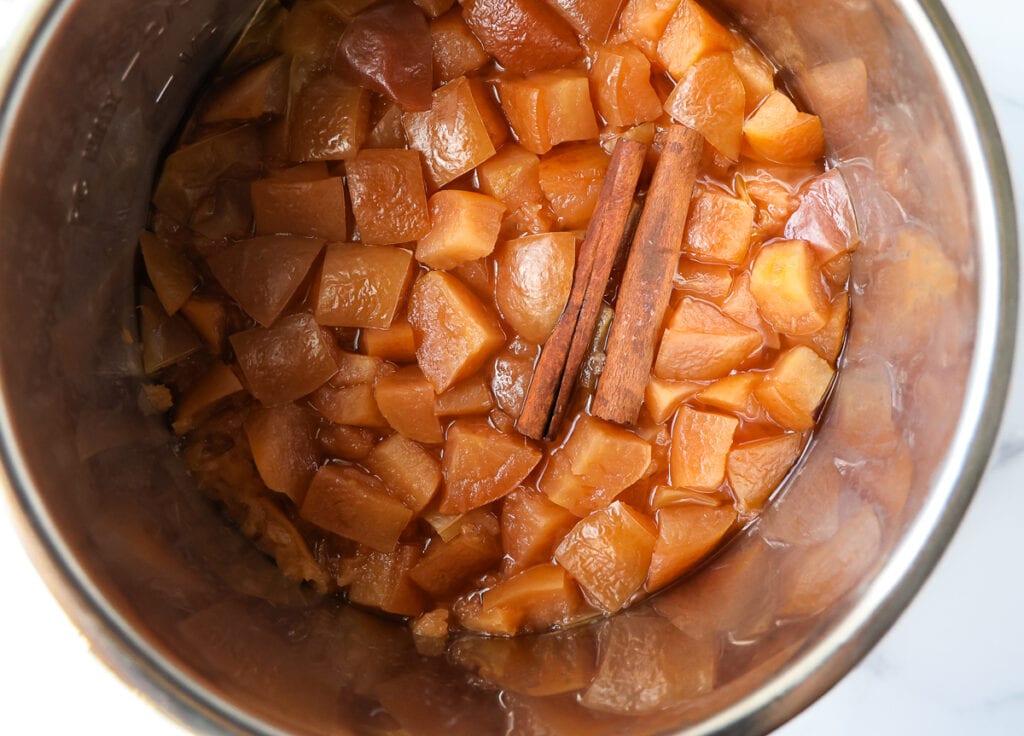
Once the pressure cooking portion is done, allow the apples to release naturally for 20 minutes, and then move the valve to “venting” to release the remaining steam.
Open the lid and remove the cinnamon sticks.
Using an immersion blender, blend the apples (skins and all) until smooth. You can also ladle the apples into a blender or food processor to blend. Be careful! The mixture is hot.
Set your Instant Pot to the “saute” function and make sure it’s set to the “less” temperature setting.
Add one cup of sugar and 2 tablespoons of lemon juice to the apples and stir.
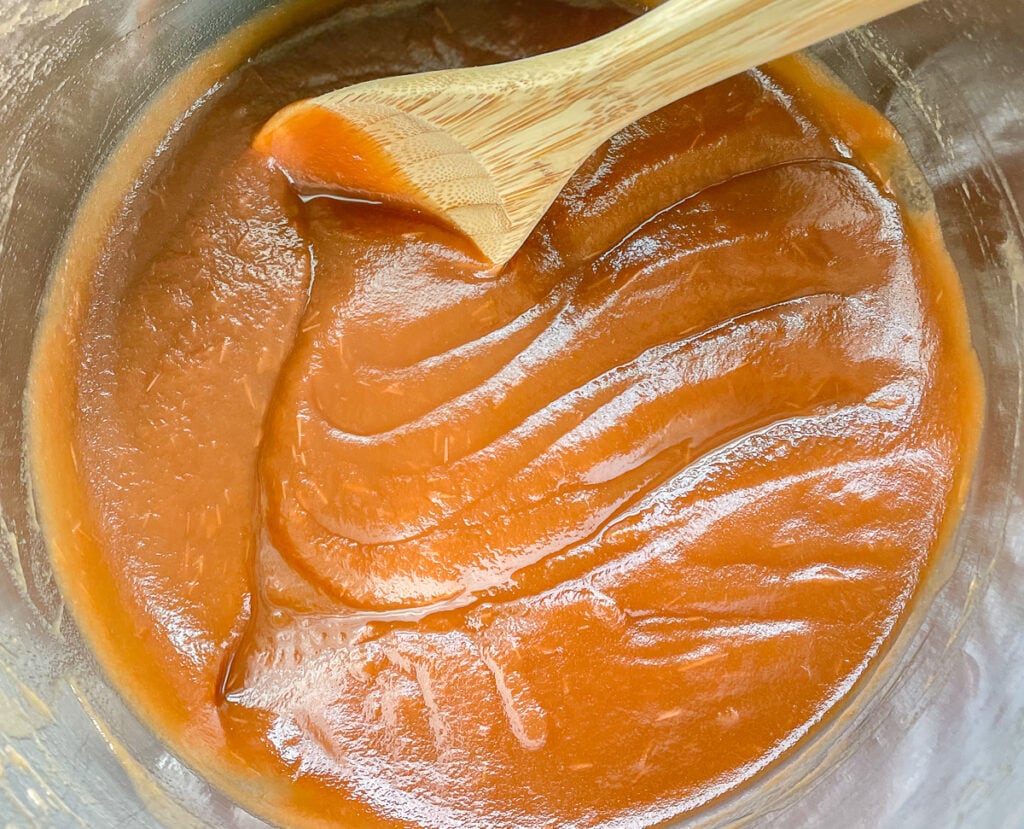
Simmer the apples for 3-4 hours until the mixture is thick, and has reduced to 1/3 of its original volume. Stir every half hour while the mixture is cooking, to prevent burning.
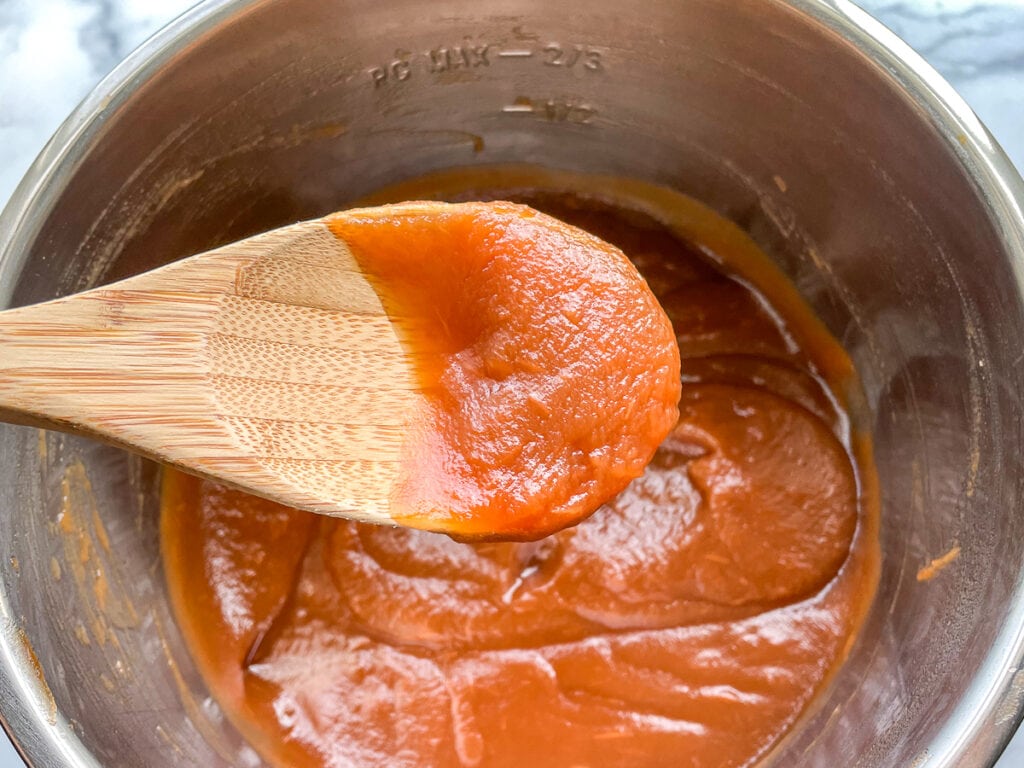
You’ll know the butter is done when it’s thick and deep brown in color. Your spoon should leave drag marks when stirring, the simmering bubbles will start to slow down, and the butter will start to making popping sounds.
When the apple butter looks done, give it a taste and add another tablespoon of lemon juice if you desire.
Press “cancel” to turn off the Instant Pot.
Ladle the apple butter into clean airtight containers and allow the butter to cool completely before storing it in the fridge or freezer.
What Apples Should I use?
Use your favorites! What’s important is that you use apples while they’re in season. Those are the most flavorful.
I personally love a variety of sweet, tart, and crisp apples.
A gala, honey crisp, or macintosh are great in this apple butter. And I always like to throw in one granny smith for extra tartness. But play around with it!
Whatever’s ripe at the orchard is what you should use.
Can I make Apple butter in the instant pot without sugar?
Yes! If you’re a purist, go ahead and omit the sugar completely from this recipe! It works very nicely.
Does apple butter need to be refrigerated?

Yes!
After the apple butter has finished cooking, scoop it out of the Instant Pot and store it in an airtight jar or container. Keep in the fridge for a couple of weeks.
For even longer preservation, you can freeze apple butter for months! Just make sure to leave some room at the top of the container for expansion in the freezer. That way your container won’t explode!
Will Apple butter thicken as it cools?
Yes! The apple butter is already cooked until it’s nice and thick and will thicken even more while chilling in the fridge.
Apples are full of natural pectin, and if you’ve ever made homemade jam or jelly, you know pectin is crucial for thickening and setting jam.
A lot of the pectin can be found in the rinds of apples. This is great for us since we don’t peel the apples in this recipe. This will ensure that we have plenty of natural pectins to keep this apple butter thick and creamy.

Canning Your Apple Butter
This apple butter lasts quite a while when stored in the fridge or freezer, but it can last even longer when canned!
When I canned this apple butter, I prepared the recipe above as stated, but I added an extra tablespoon of lemon juice (just to add some extra acidity).
Then I followed these canning instructions(water bath method), processing the jars for 15 minutes.
It was super easy to do too–I was able to can up my apple butter while making my kiddo’s dinner!
After a year of sitting in the pantry, I cracked open a jar of my preserved apple butter and it was perfect!
Why Does my apple butter look like applesauce?
My first thought is that the apples didn’t cook long enough!
Apple butter should be cooked significantly longer than applesauce. Apple butter should be thick, spreadable, and should take on a deep brown color.
Applesauce is simply cooked and pureed apples. The liquid isn’t reduced as long as apple butter, and the flavor is less concentrated.
From a texture standpoint, if the apples aren’t blended until completely smooth, it may look a little chunkier and mealy like applesauce would. Also, different apples will produce different textures. For instance, my apple butter made with all fuji and gala apples wasn’t as smooth as my gala and NY lady apple batch.
I also noticed when the sugar is omitted, the apple butter will have a coarser texture.
Feel free to run your butter through a strainer if you want it extra smooth!
What do you eat apple butter with?

You can slather your Instant Pot Apple Butter on a variety of dishes and baked goods. Here are some ideas:
- Toast, with salty butter
- Pancakes
- Oatmeal
- French Toast
- Waffles
- Biscuits
- Add to a peanut butter sandwich (think a PB&J)
- Add to a charcuterie board
- Pork Chops
Tips
- Use in season apples. This apple butter won’t taste like much if you buy apples out of season. It’s worth waiting until fall for this recipe.
- Don’t skip adding the water in the Instant Pot. Apples give off a lot of moisture naturally, but adding the water at the beginning of cooking keeps the apples from burning on the bottom of the pot during the pressure cooking portion.
- If your apple butter doesn’t look thick enough after a night in the fridge, add it back to the Instant Pot, press “saute”, set to”less”, and bring the butter to a simmer. Once simmering, start the cooking time for another 1/2 hour to hour. It’ll get nice thick and delicious!
Other Perfect Fall Apple Recipes:
Homemade Unsweetened Applesauce
Save This Recipe
Just enter your email below and we will send this recipe right to your inbox, plus we will send more yummy recipes and ideas.

Instant Pot Apple Butter
Ingredients
- 6 lbs of apples* mixed varieties including sweet and tart apples
- 1/2 cup of water
- 1 cup of granulated sugar
- 2 cinnamon sticks
- 2 tablespoons fresh lemon juice + more to taste
Instructions
- Wash the apples really well.
- Core and chop apples into one inch cubes. No peeling is necessary.
- Add the chopped apples to your Instant Pot. Pour in 1/2 cup of water and add the cinnamon sticks.
- Close the lid and make sure the valve is pointed to “sealing”. Press the “pressure cook” or “manual” button, set to high pressure for 30 minutes.
- Once the pressure cooking portion is done, allow the apples to release naturally for 20 minutes, and then move the valve to “venting” to release the remaining steam.
- Open the lid and remove the cinnamon sticks.
- Using an immersion blender, blend the apples (skins and all) until smooth. You can also ladle the apples into a blender or food processor to blend. Be careful! The mixture is hot.
- Set your Instant Pot to the “saute” function and make sure it’s set it to the “less” temperature setting.
- Add one cup of sugar and 2 tablespoons of lemon juice to the apples and stir.
- Simmer the apples for 3-4 hours until the mixture is thick, and has reduced to 1/3 of its original volume. Stir every half hour while the mixture is cooking, to prevent burning.
- You’ll know the butter is done when it’s thick and deep brown in color. Your spoon should leave drag marks when stirring, the simmering bubbles will start to slow down, and the butter will start to making popping sounds.
- When the apple butter looks done, give it a taste and add another tablespoon of lemon juice if you desire.
- Press “cancel” to turn off the Instant Pot.
- Ladle the apple butter into clean airtight containers and allow the butter to cool completely before storing in the fridge or freezer.


Oh my gosh this looks incredible! I love all your ideas too I’d love to try this in oatmeal.
I am so thrilled to come across your recipe, as I have so many apples! I can’t wait to make this, and in the instant pot too!
I am always looking for new instant recipes-especially in the Fall and Winter. I love apple butter and this recipe is so great. Another benefit is you do not have to peel a bunch of apples. Thanks for sharing such a good recipe.
What a great recipe!! I’m the new owner of a house with an apple tree so perfect timing!!