Mom’s Apple Pie With Fresh Apples
This post may contain affiliate links, see my disclosure policy for details.
25 years later and this homemade apple pie recipe is the one I always turn to when I want foolproof pie—because I know firsthand how intimidating pie can feel. I’ll tell you which fresh apples to use, how to create a warm cinnamon sugar filling, and make the most flaky, buttery crust (my dad’s recipe). This is the same pie my mom baked every Thanksgiving and now I’m passing it on, step by step, to help you feel confident tackling a true classic.
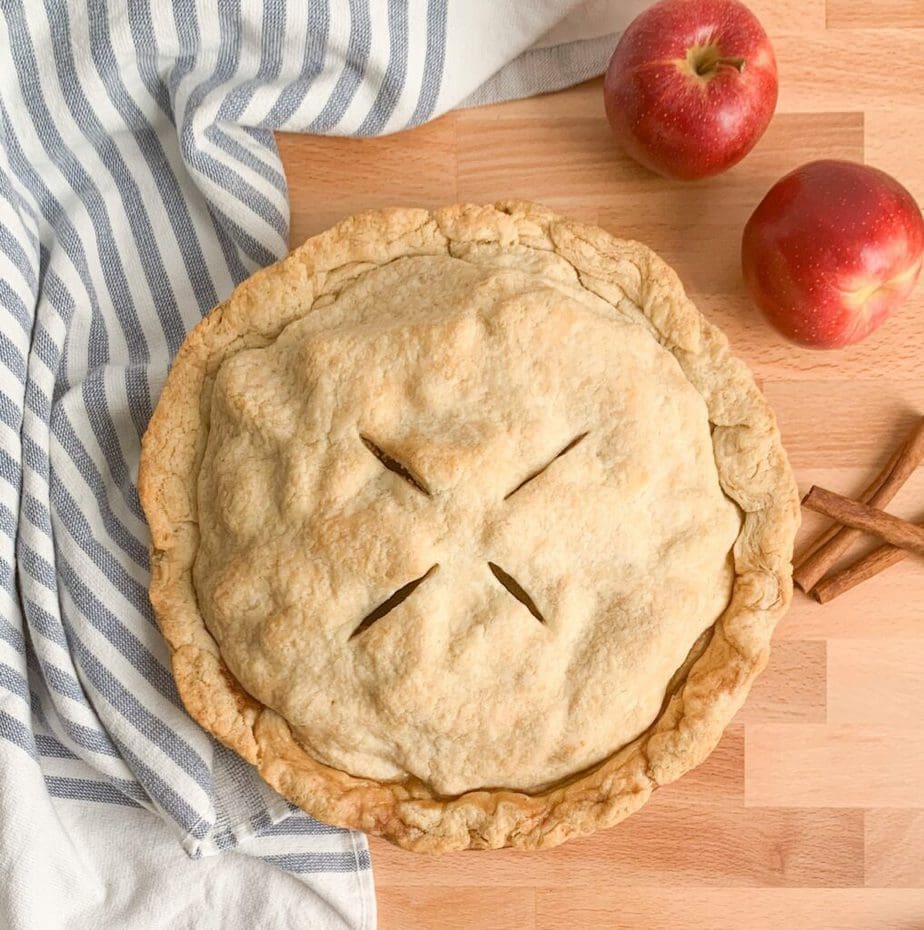
Today I’m serving up my mom’s perfect from scratch apple pie recipe!
I’m sharing this in collaboration with my good buddies Megan from Simply Rooted Farmhouse and Dusty from Linen and Wildflowers. We wanted to get together and share our most treasured, favorite, family recipes for this holiday season. You can check out their delicious recipes at the end of this post!
As mentioned earlier, we’re talking about apple pie.
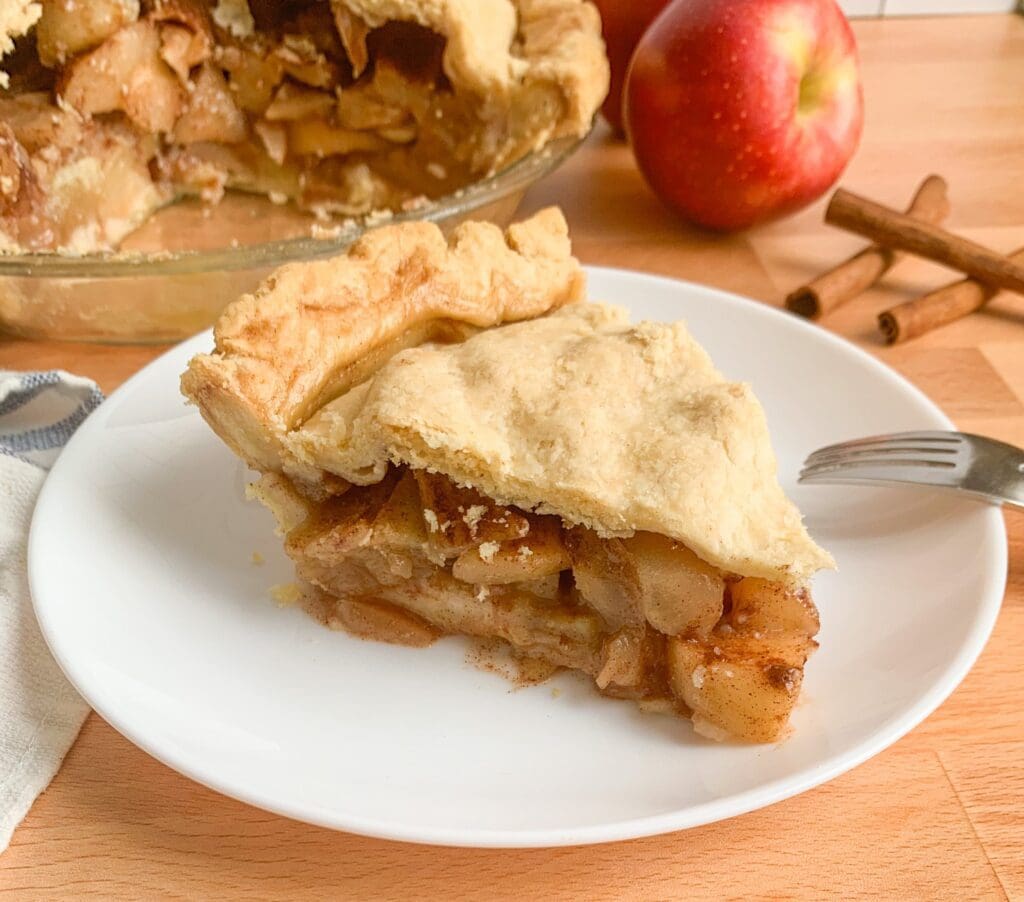
My mom’s apple pie is THE APPLE PIE at our family Thanksgiving table. It’s not too sweet, the apples still taste fresh, and there is just enough cinnamon to make it warm and cozy, without overwhelming the sweet apples. The homemade apple pie filling is then encased in my dad’s flaky pie crust and baked until golden brown and delicious.
This apple pie is served every year at Thanksgiving. My mom made it for well over a decade before teaching and eventually passing it on to me.
Now that I’m on my own and have my own family, Thanksgivings are now hosted at my house. The dinner menu changes year to year, our families grow and change from year to year, but no matter what we’re having for dinner, or how many people are coming, one thing’s for certain–the apple pie will be there.
Fresh Apple Pie Recipe Ingredients
Makes 1 9″ Pie
- 2 – 2 1/2 lbs of Apples- a combination of tart and sweet apples. I used 3 Granny Smith and 6 medium McIntosh
- 4 tablespoons of cinnamon sugar mix (recipe below)
- Juice of a small Lemon
- 2 tablespoons unsalted butter, softened
- 2 tablespoons of all purpose flour
- Prepared pie dough-enough for a double crust–homemade or store bought
What are the best apples for pie?
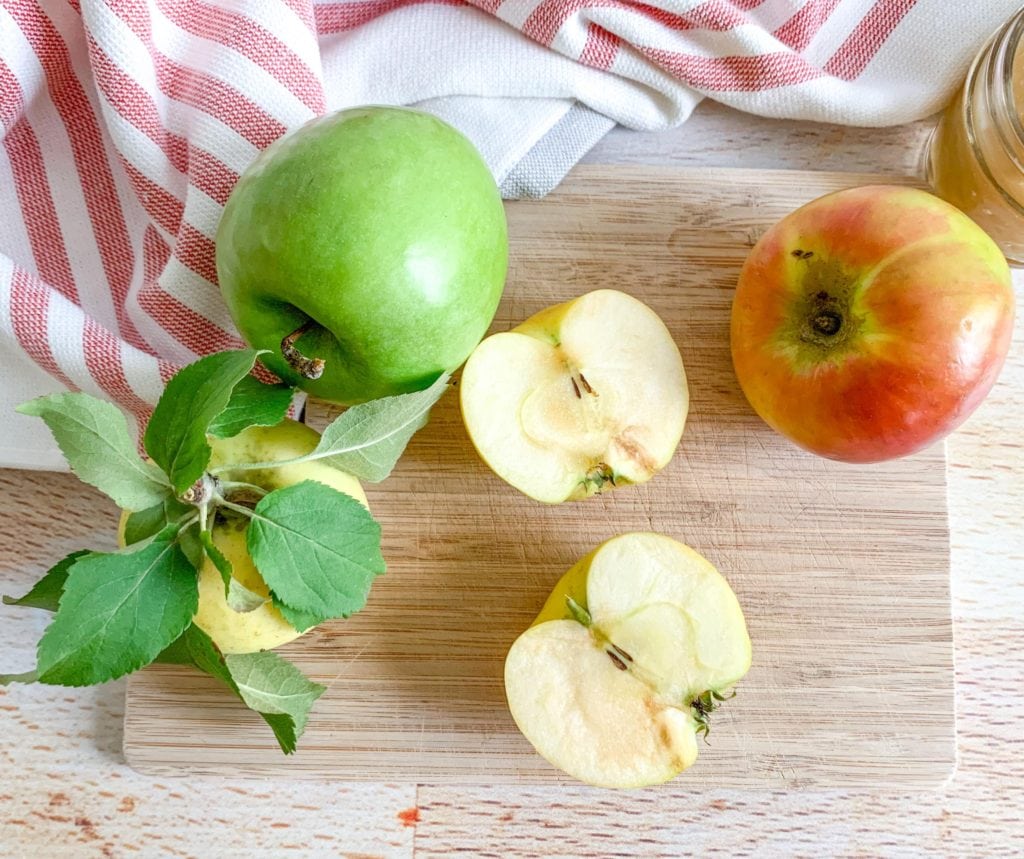
Here is a list of apples that will work well for your pie:
- Golden Delicious
- Granny Smiths combined withs Galas or Pink Ladies–(use the ratio of two parts sweet apple to one part Granny Smith)
- Honey Crisps and Braeburns are great. I’d also pair these with one Granny Smith or extra lemon juice to offset the sweetness a touch
Just keep in mind when you’re choosing your apples–if you’re going through the effort of making an apple pie recipe from scratch, make sure to use apples you enjoy eating. Basically, if you don’t like them raw, you won’t like them cooked!
The tradition in our household is to use all McIntosh apples. That’s how my mom always made this pie and that’s the flavor I always associate with an apple pie.
Unfortunately, they get a bit mushy after cooking for a while.
So to offset the delicate apples and to give my homemade apple pie filling more structure, I toss in a few Granny Smiths. They’ll provide some nice chunky apple pieces in the final dish and provide a little tartness as well.
BUT I would not use all Granny Smiths for this recipe. They’re a little too dry, so the texture of the apple filling would get a little weird. They’re really best combined with a sweeter, more delicate apple.
How to Make Fresh Apple Pie
Cinnamon Sugar Mix
Combine 6 tablespoons of granulated sugar and 1 tablespoon of cinnamon (or more to taste).
Mix together until blended. Any leftover sugar can be stored in an airtight container in the pantry and used later to sprinkle on buttered toast, pancakes, muffins or French toast.
Instructions:
- Place a cookie sheet into a cold oven. Then preheat the oven and cookie sheet to 425°.
- Spray a 9” pie plate very lightly with cooking spray.
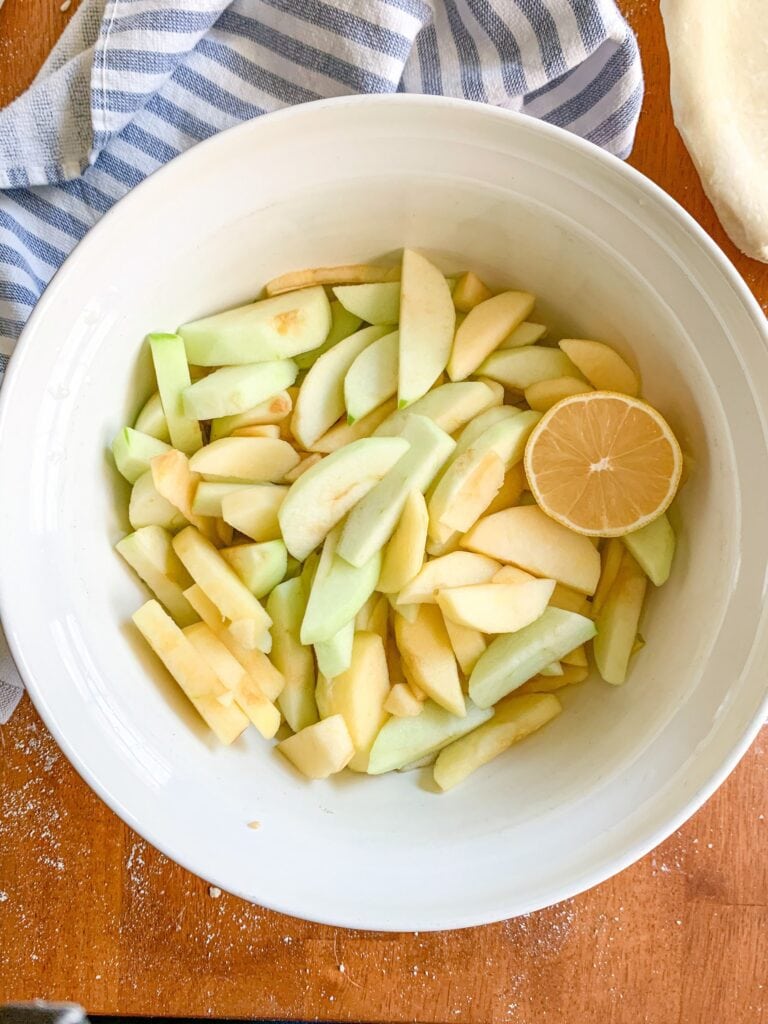
- Peel, core and slice the apples. Slice them slightly bigger than 1/4” thick.
- Place the apple slices into a large bowl and toss with the lemon juice. This will prevent browning, as well as provide a little tartness to the sweet apple pie filling.
- Grab one pie crust from the fridge. If using homemade pie dough, lightly dust your work surface with flour and roll out the dough until it’s big enough to fit into the pie plate, about 1/4″ thick.
- Gently lift and press your pie dough into the pie plate. There will be spots where the crust will hang over the edge of the plate and that’s ok, we’ll trim it later.
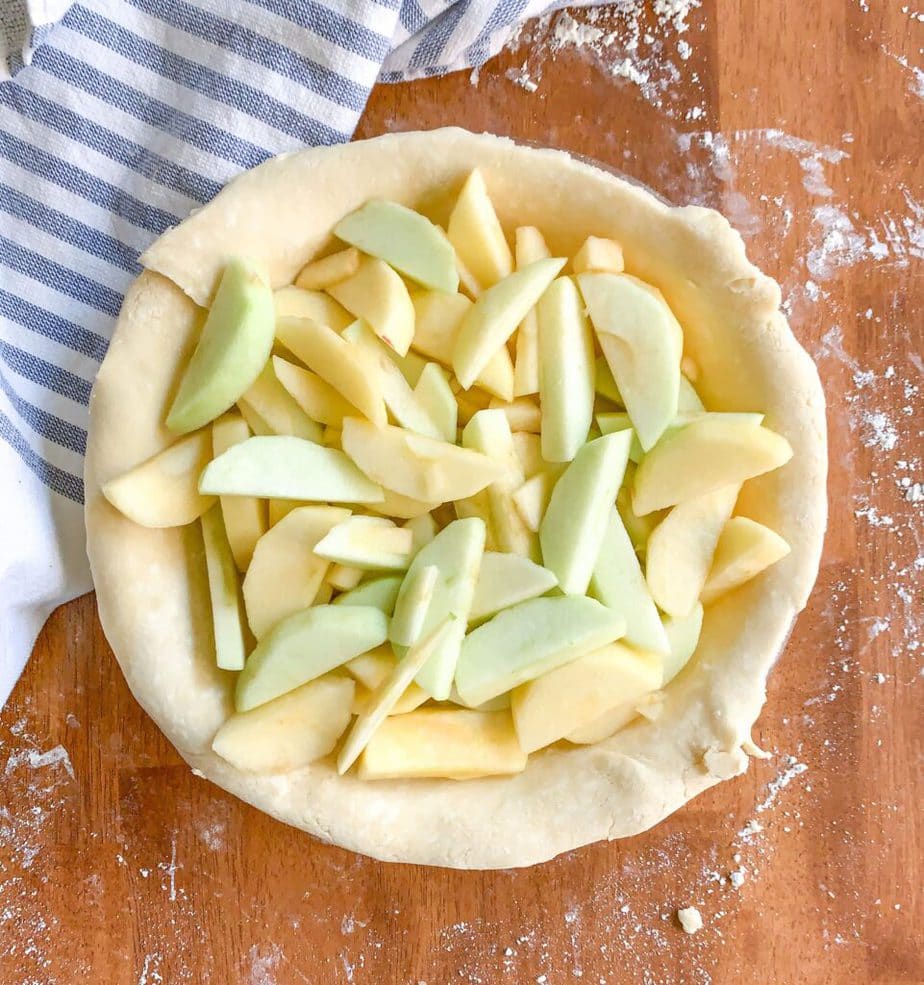
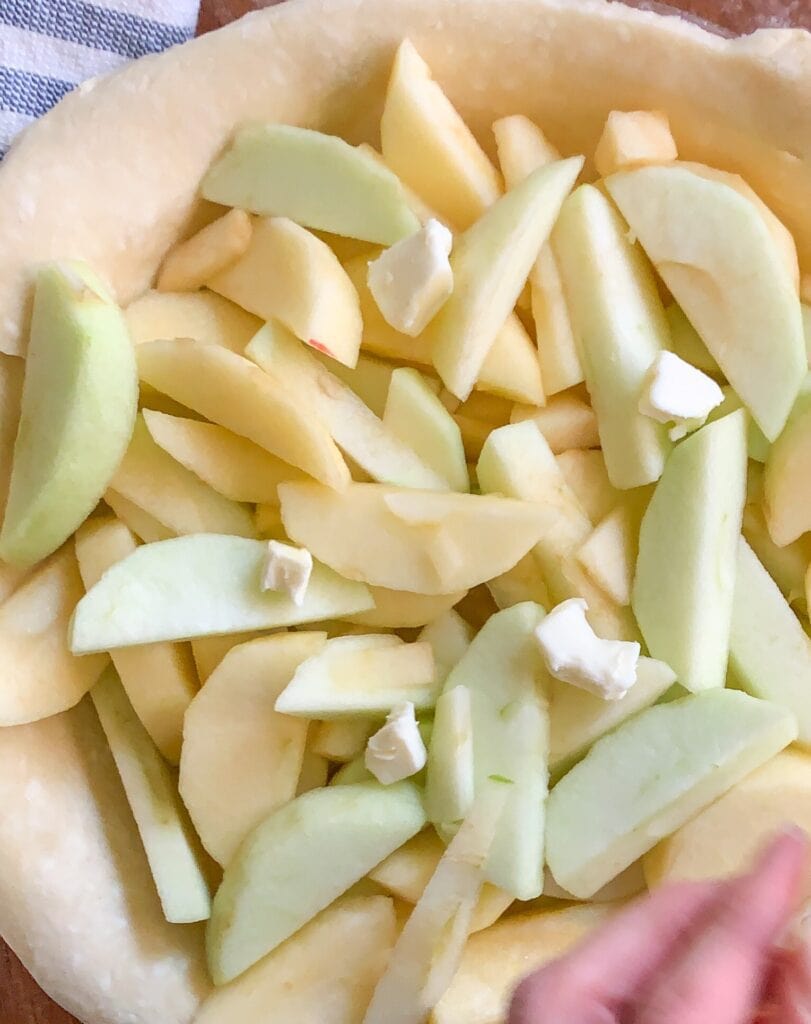
- Scoop 1/2 the apples into the pie crust.
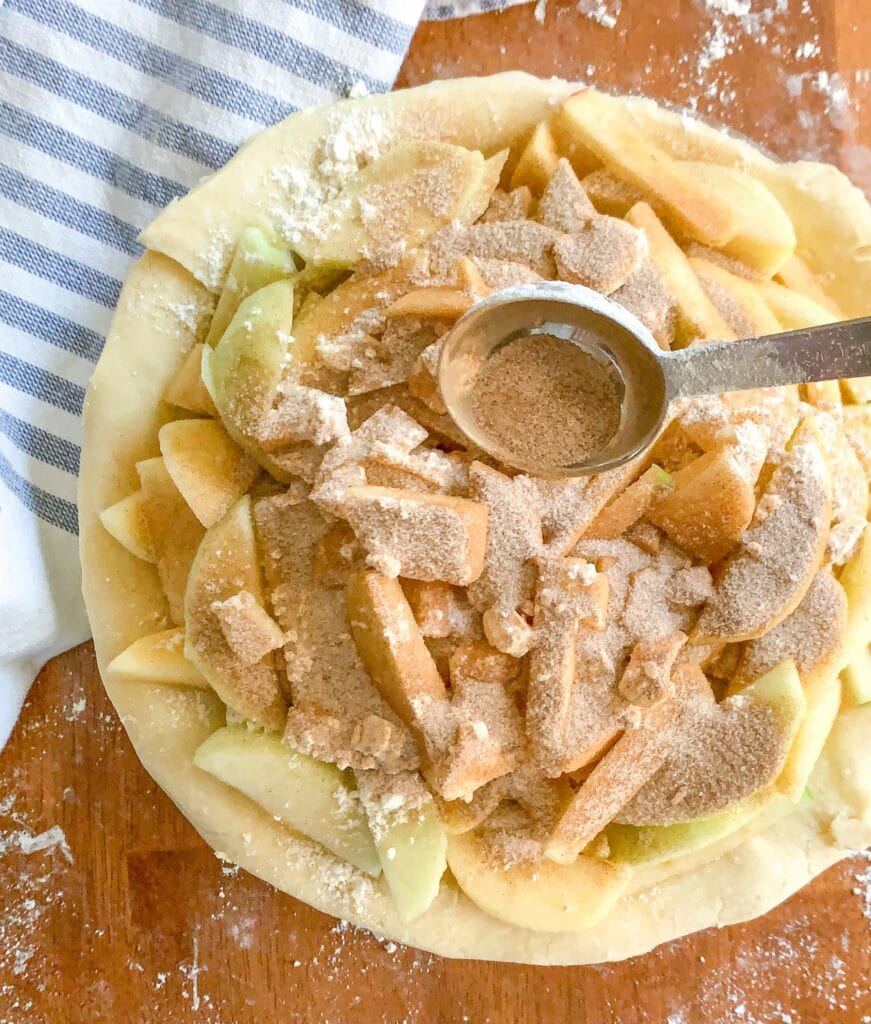
8. Sprinkle apples with 2 tablespoons of your cinnamon sugar mixture and dot with 1 tablespoon of the softened butter.
9. Next, sprinkle 1 tablespoon of flour over the top. Make sure it’s evenly distributed.
10. Repeat with the remaining apples, cinnamon sugar, butter and flour.
It will look like too many apples, but that’s ok. The top crust will keep them in place and they’ll cook down while baking.
Of course, you can toss the apples with the flour and cinnamon sugar all at once in a large bowl–but that’s not how my mom makes it. So there.
11. Pop the bottom crust with the apples back in the fridge. We’re trying to keep the pie dough as cold as possible.
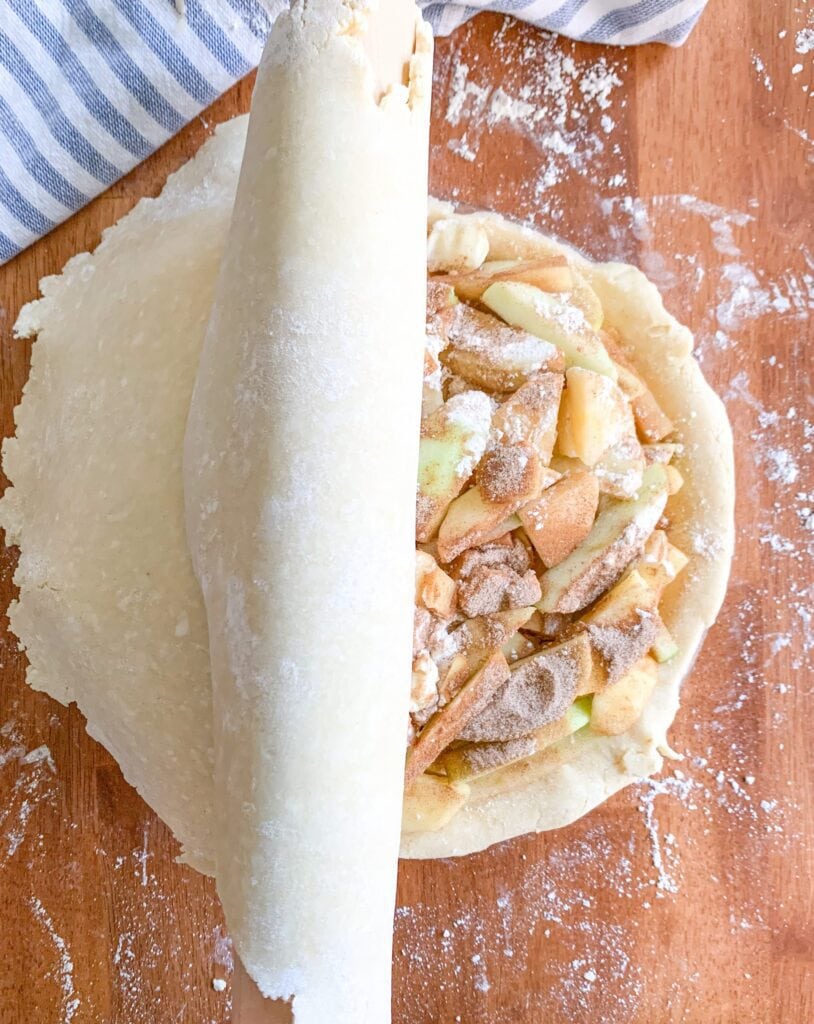
12. Roll your second disc of dough (if using homemade dough) large enough to cover the top of the pie plate and the apples.
13. Grab your pie plate from the fridge and gently drape the top crust over your apples and bottom crust.
14. Trim off any excess overhang around the outside edge of the pie plate. Don’t discard.
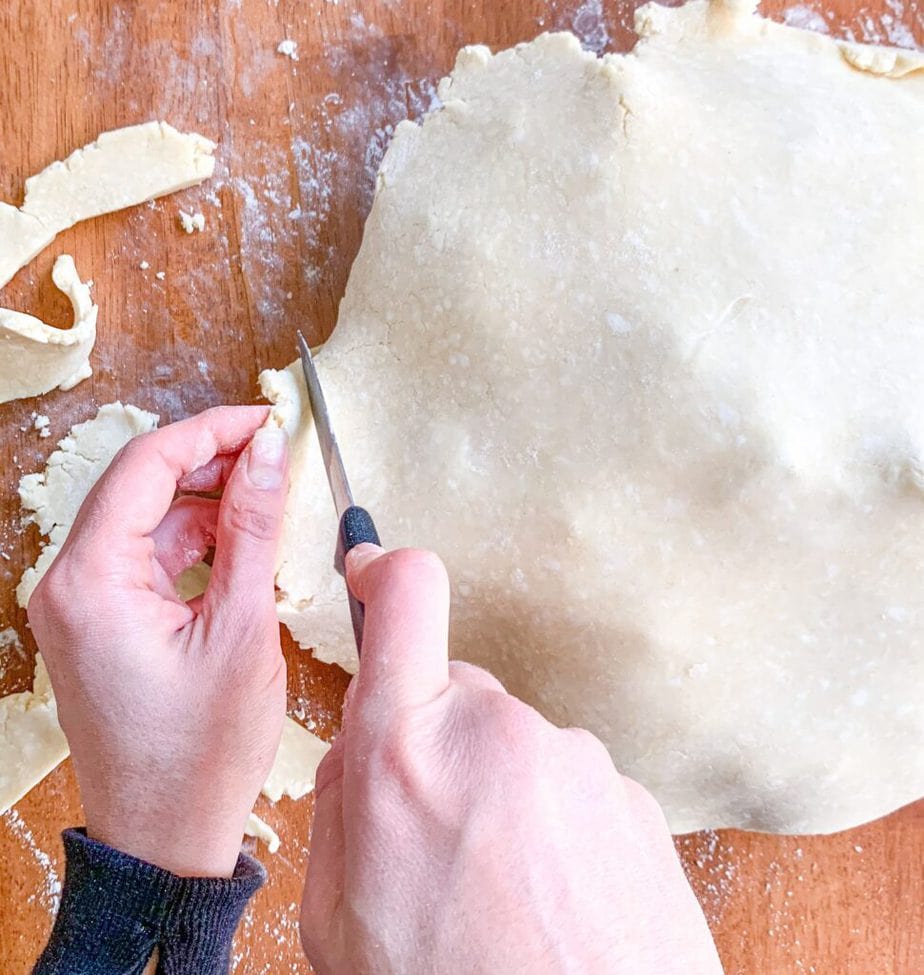
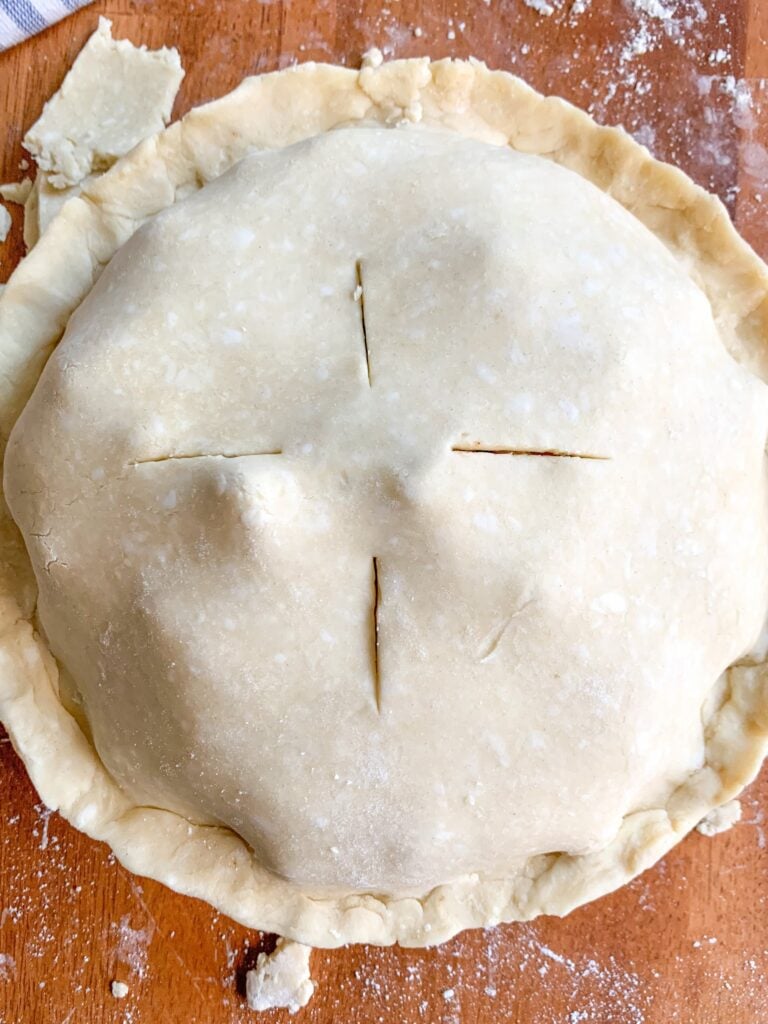
Pinch the edges together to seal the top and bottom crusts and use the excess dough scraps to fill in any thin spots. At this point, you can make a decorative edge!
Slice holes in the top crust for ventilation.
15. Pop the pie back in the fridge or freezer for 20-30 minutes to firm up the pie dough—this help keeps the crust from melting in the oven and helps to keep the shape of your decorative edge!
Baking Your Pie
When the pie dough has firmed up, remove your pie from the fridge and place it on the hot cookie sheet in the oven.
Bake at 425° for 20 minutes. Then reduce the heat to 375° and bake for another 40-45 minutes until the crust is a golden brown and the apples are tender and bubbling.
You can test for apple doneness by sticking a thin knife or toothpick in one of the ventilation holes. If there’s resistance, allow the apples to cook a few minutes longer.
Once done baking, allow the pie to cool for a couple hours before serving.
Serve warmed with a scoop of homemade vanilla ice cream or whipped cream.
Tips For Baking Fresh Apple Pie
- Cut apples evenly so that they cook evenly.
- Use a mix of granny smith apples (for structure) and soft apples (like mcintosh) for sauce. Using all granny smiths will give you a dry pie.
- Overfill the pie since the apples will bake down significantly.
- If your crust is browning too quickly, loosely tent with foil and finish baking.
Do you cook apples before putting them in a pie?
Not for this recipe! We start off with fresh, raw apples.
The pie bakes for an hour, so that’s plenty of time for the crust to cook and for the apples to get tender and bubbly.
How Do you thicken apple pie?
I use all purpose flour in this recipe as a thickener.
The flour–combined with the dots of butter and sugar– helps to turn the juice that gets released from the apples into a nice gooey sauce while baking.
Also, do not serve this pie immediately after baking. By letting the pie sit for a couple of hours, the juices will be able to thicken as they cool.
How Many Pounds of Apples do you need for a from scratch apple pie recipe?
I use a 9″ pie plate, about 1.5″ deep and that uses about 2- 2 1/4 lbs of apples. If you’re using a deep-dish pie plate, you may need upwards of 2 1/2 to 3 lbs of apples.
For this recipe, a little over 2 lbs equates to 7-8 medium/large apples.
Storing Apple Pie With Fresh Apples
It is not necessary to keep your apple pie in the fridge.
Since there is no raw dairy or eggs in this pie, I keep my leftovers wrapped in plastic wrap on the kitchen counter for a few days.
If you live in a particularly humid or hot climate, you can refrigerate your pie to prolong the shelf life. But again, not required.
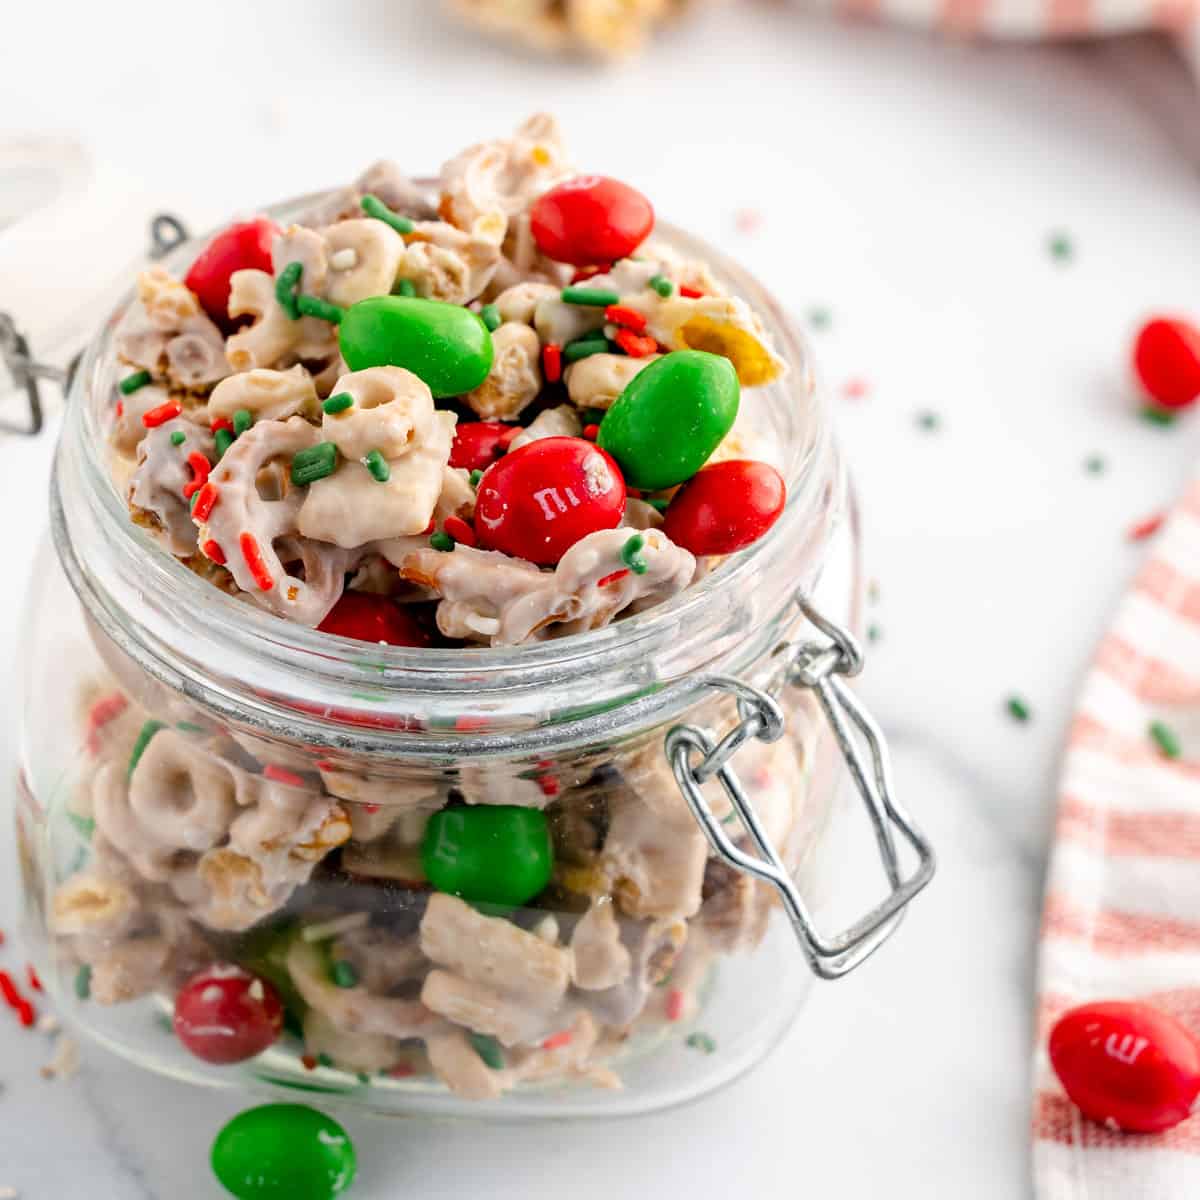
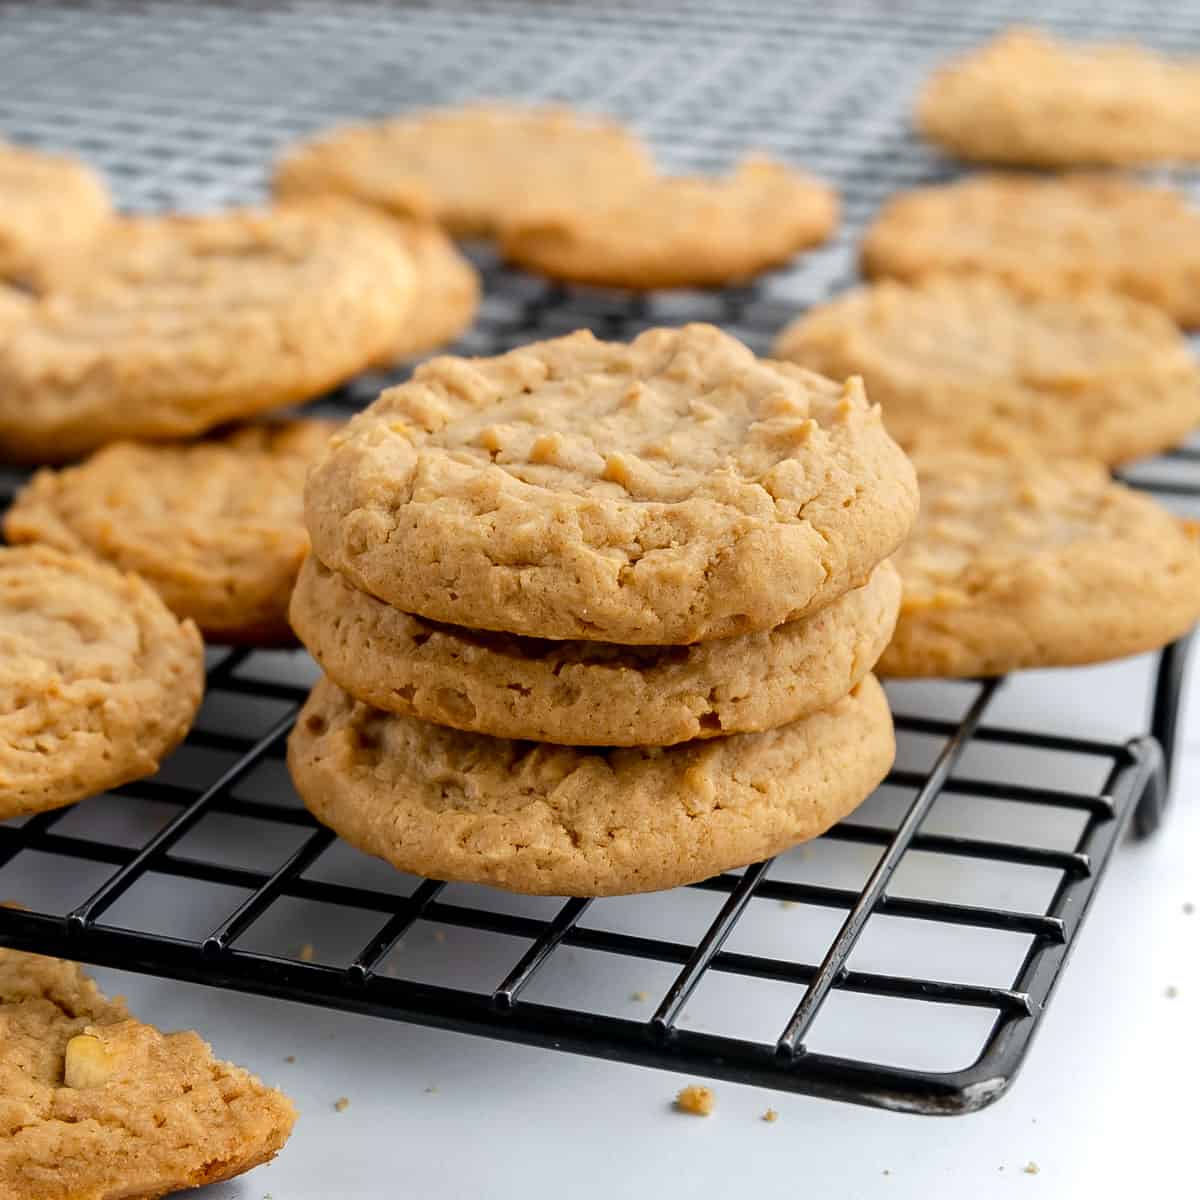
Other Recipes You May Like To Serve Around the Holidays:
Apple Crisp With Cinnamon Oat Topping
Save This Recipe
Just enter your email below and we will send this recipe right to your inbox, plus we will send more yummy recipes and ideas.

How to Make Fresh Apple Pie
Ingredients
- 2 – 2 1/2 lbs of Apples- a combination of tart and sweet apples.
- 4 tablespoons of cinnamon sugar mix (recipe below)
- Juice of a small Lemon
- 2 tablespoons unsalted butter, softened
- 2 tablespoons of all purpose flour
- Prepared pie dough-enough for a double crust–homemade or store bought
Cinnamon Sugar Mix
- 6 tablespoons of granulated sugar
- 1 tablespoon of cinnamon
Instructions
Make The Cinnamon Sugar
- Mix together until blended. Any leftover sugar can be stored in an airtight container in the pantry.
Instructions For Making The Apple Pie
- Spray a 9” pie plate very lightly with cooking spray.
- Peel, core, and slice the apples. Slice them slightly bigger than 1/4” thick. Place the apple slices into a large bowl and toss with the lemon juice.
- Grab one pie crust from the fridge. If using homemade pie dough, lightly dust your work surface with flour and roll out the dough until it’s big enough to fit into the pie plate, about 1/4″ thick.
- Gently press your pie dough into the pie plate. There will be spots where the crust will hang over the edge of the plate and that’s ok, we’ll trim it later.
- Pour 1/2 the apples into the pie crust. Sprinkle the apples with 2 tablespoons of your cinnamon sugar mixture and dot with 1 tablespoon of the softened butter.
- Next, sprinkle 1 tablespoon of flour over the top. Make sure it’s evenly distributed.
- Repeat the process with the remaining apples, cinnamon sugar, butter, and flour. Note: It will look like too many apples, but that’s ok. The top crust will keep them in place during baking and the apples cook down while baking.
- Pop the bottom crust with the apples back in the fridge, while you roll out the top of the pie dough.
- Roll out your second disc of dough (if using homemade dough) large enough to cover the top of the pie plate and the apples. Grab your pie plate from the fridge and gently drape the top crust over your apples and bottom crust.
- Trim off any excess overhang around the outside edge of the pie plate. Do not discard. Pinch the edges together to seal the top and bottom crusts and use the excess dough trimmings to fill in any thin spots. At this point, you can make a decorative edge!
- Slice holes or slits in the top crust for ventilation and pop the pie back in the fridge or freezer for 20-30 minutes to firm up. This helps keeps the crust from melting in the oven and helps to keep the shape of your decorative edge!
- While the pie chills, place a cookie sheet into the oven, and move the oven rack to the second from the bottom position. Preheat the oven and cookie sheet to 425°.
Baking The Pie
- When the pie dough has firmed up, remove your pie from the fridge and place it on the hot cookie sheet in the oven.
- Bake at 425° for 20 minutes. Without opening the oven door, reduce the heat to 375° and bake for another 40-45 minutes until the crust is a golden brown and the apples are tender and bubbling through the vent holes. If the crust starts browning too quickly (check about 10 minutes before its done), cover the crust loosely with foil while the pie finishes baking.
- Tip: You can test for apple doneness by sticking a thin knife or toothpick in one of the ventilation holes. If there's resistance, allow the apples to cook a few minutes longer.
- Once done baking, allow the pie to cool for a couple of hours at room temperature before serving
Nutrition
Pin “Mom’s From Scratch Apple Pie Recipe” For Later


Absolutely beautiful and looks so delicious!
Is it possible to prep this the night before and then bake it the following day?
Yes! Prep the pie as stated in the recipe, cut the slits in the top and everything. Instead of storing in the fridge, pop the pie in the freezer. When it’s time to bake, preheat the oven and bake the pie frozen. This will help keep the crust from getting soggy. Happy baking!!!
Your pie looks delicious. Have you ever froze pie filling? We were blessed with a bag of granny smith apples by a neighbor & have several whole unbaked pies in the freezer. We need to do something with remaining apples.
Thank you 😊
I have not froze the filling. But I encourage you to give it a try! When I worked in a bakery, we had frozen apples for our muffins and scones and they held up, so I feel confident that your granny smiths would do the same!
A softer apple like a macintosh would probably turn to mush when thawed.
If you freeze the filling let me know how it turns out and I’ll update the post!
Pie crust was super easy and the pie filling was too. Everything came together in a snap and the result is a delicious and flaky pie. I appreciate the thorough instructions and the enjoyable anecdotes. Thank you for sharing this recipe!