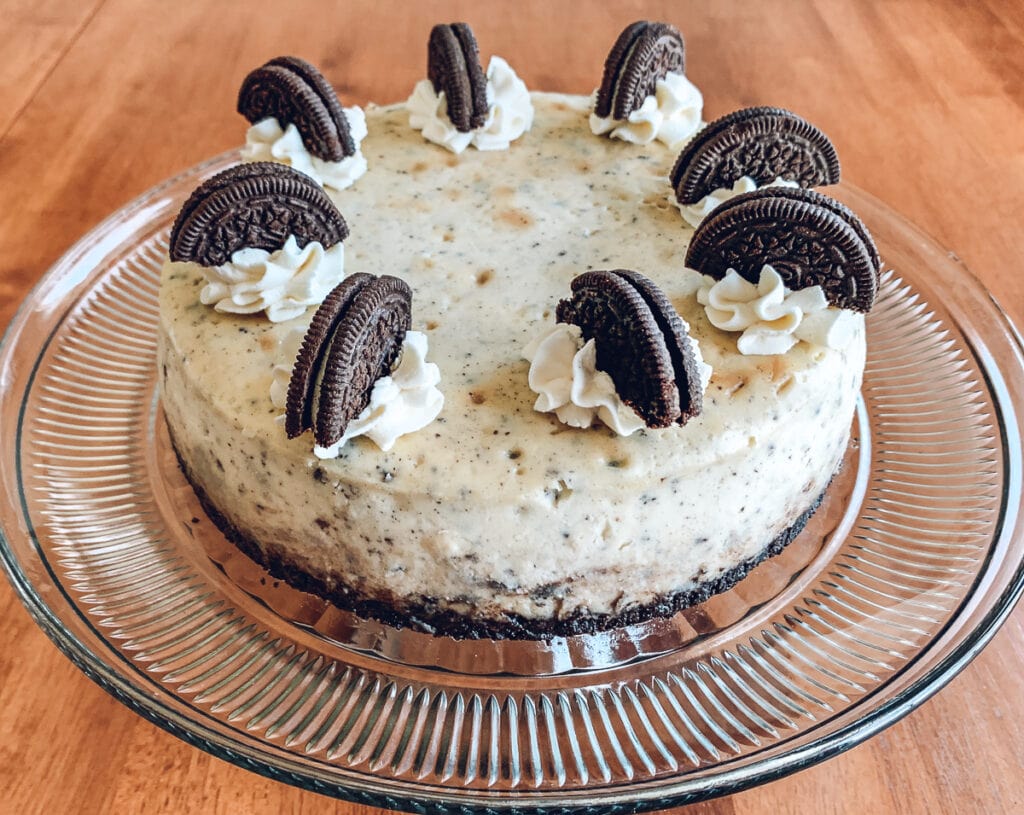
The Best Ever Oreo Cheesecake


This post may contain affiliate links, see my disclosure policy for details.
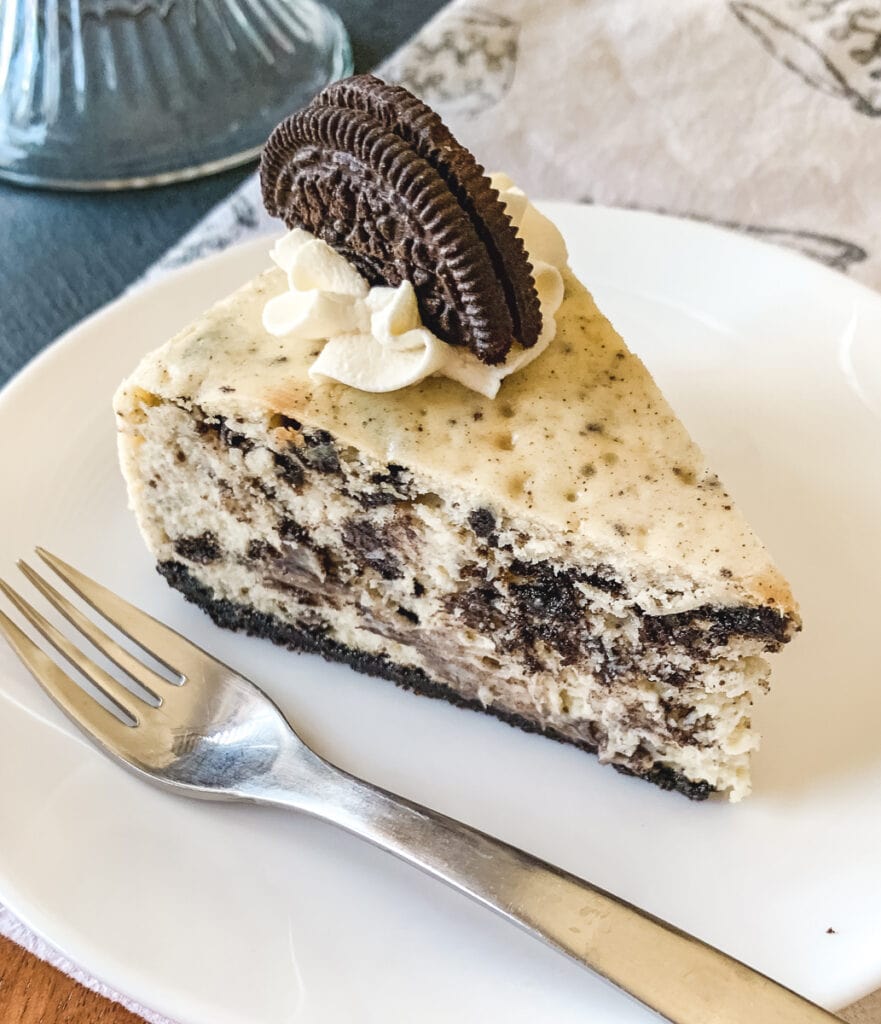
If you want to be the person everyone requests desserts from, make this cookies and cream cheesecake. In this recipe, I’m sharing the ideal Oreo-to-cheesecake ratio, how to know when it’s perfectly baked (no guessing), and my tried-and-true tips for getting a smooth, fully set cheesecake—without worrying about water bath leaks.
I’ve always loved baking cheesecake for every season—from my cherry cheesecake in the winter, to mini strawberry cheesecakes in the spring, and no-bake pumpkin cheesecake bars in the fall. After baking more cheesecakes than I can count—at home, for family gatherings, and back when I ran a cheesecake business—this Oreo cheesecake is still the one everyone requests.
It’s rich, creamy, perfectly balanced with Oreos, and never too heavy. Don’t be surprised if this quickly becomes the dessert everyone asks you to bring.
How To Make A Cookies and Cream Cheesecake
Ingredients For The Cheesecake Filling
- Chocolate Sandwich Cookies (Oreos) – The star of the show! These will be crushed for both the crust and the filling.
- Cream cheese – You’ll get the best results with full-fat cream cheese. It makes the final product incredibly creamy, and more importantly, prevents cracking. Make sure to bring it to room temperature so everything mixes evenly.
- Sour cream – Provides stability, texture, and a nice tang to the cheesecake filling.
- Granulated Sugar – For adding sweetness to the filling.
- Large Eggs – Help bind the cake while keeping the filling custard-like and smooth. Be sure the eggs are at room temperature.
- Vanilla extract – For flavor and warmth.
Ingredients for the Oreo Crust:
- Oreo Cookies – I crush up the whole cookie. Some recipes remove the cream filling, but I use it as a way to bind the crust together.
- Melted Butter – Salted or unsalted will work for this recipe. This also helps to bind the crust together and keep it crisp.
Equipment:
- 1 (8″) round cake pan with high sides – While most cheesecakes use a springform pan, I swear by a simple cake pan. It slips out cleanly (I’ll show you exactly how to do it), and most importantly, prevents the water bath from leaking into the bottom of the cheesecake as it bakes.
- Parchment paper cut into an 8″ round
- Food processor (optional): The easiest way to crush Oreo cookies is in a food processor, but if you don’t have one, you can do this by hand.
- Electric mixer: I use a stand mixer with a paddle attachment for cheesecakes, but if you don’t have one, a hand mixer and a large bowl will work fine.
- Large pan: A 10” cake pan or roasting pan will be needed for the water bath.
Instructions
Full step-by-step instructions and ingredient amounts can be found on the recipe card at the bottom of the post.
Step 1: Prepare The Pan
Preheat your oven to 350° and grease an 8″ round cake pan, with 3″ high sides, with cooking spray or melted butter.
Cut an 8″ circle out of parchment paper and place it in the bottom of the cake pan. Spray the parchment too.
Set the pan aside and get to work on the Oreo cookie crust.
Note: if you’re using a springform pan for this recipe, wrap the bottom in foil or place it inside a slow cooker liner, rolling the sides down so the top of the cake is exposed. I show you how to do this in my chocolate chip cheesecake recipe.
Step 2: Make the Oreo Cookie Crust

In the bowl of a food processor, pulse cookies until very coarsely ground.

Add in melted butter and pulse until the crumbs are all finely ground and evenly moistened.

Dump Oreo crumbs into the prepared cake pan. Use the bottom of a clean drinking glass to pack the crumbs down evenly and tightly into the pan.
Bake the Oreo crust for 12 min at 350° or until you smell a toasty chocolate aroma coming from the oven. Once the crust is done, remove it from the oven and set it aside while you make the filling.
Reduce oven temperature to 325°.
Step 3: Prepare The Cheesecake Filling

Beat the cream cheese in a stand mixer until smooth. Add the sour cream and mix until completely lump-free. Scrape down the sides of the bowl, then add the sugar and mix until fully combined.

Stir in the vanilla and add the eggs one at a time. Fully mix in one egg before adding the next.
Stir in crushed cookies either by hand or using the mixer on low speed, until JUST combined. Don’t overmix.
Pour the cheesecake batter over the Oreo crust and tap the pan lightly on the counter to get out any air bubbles.
Helpful Tip: If you see any cookie pieces poking up through the surface of the cake, push them down into the batter to prevent cracking.
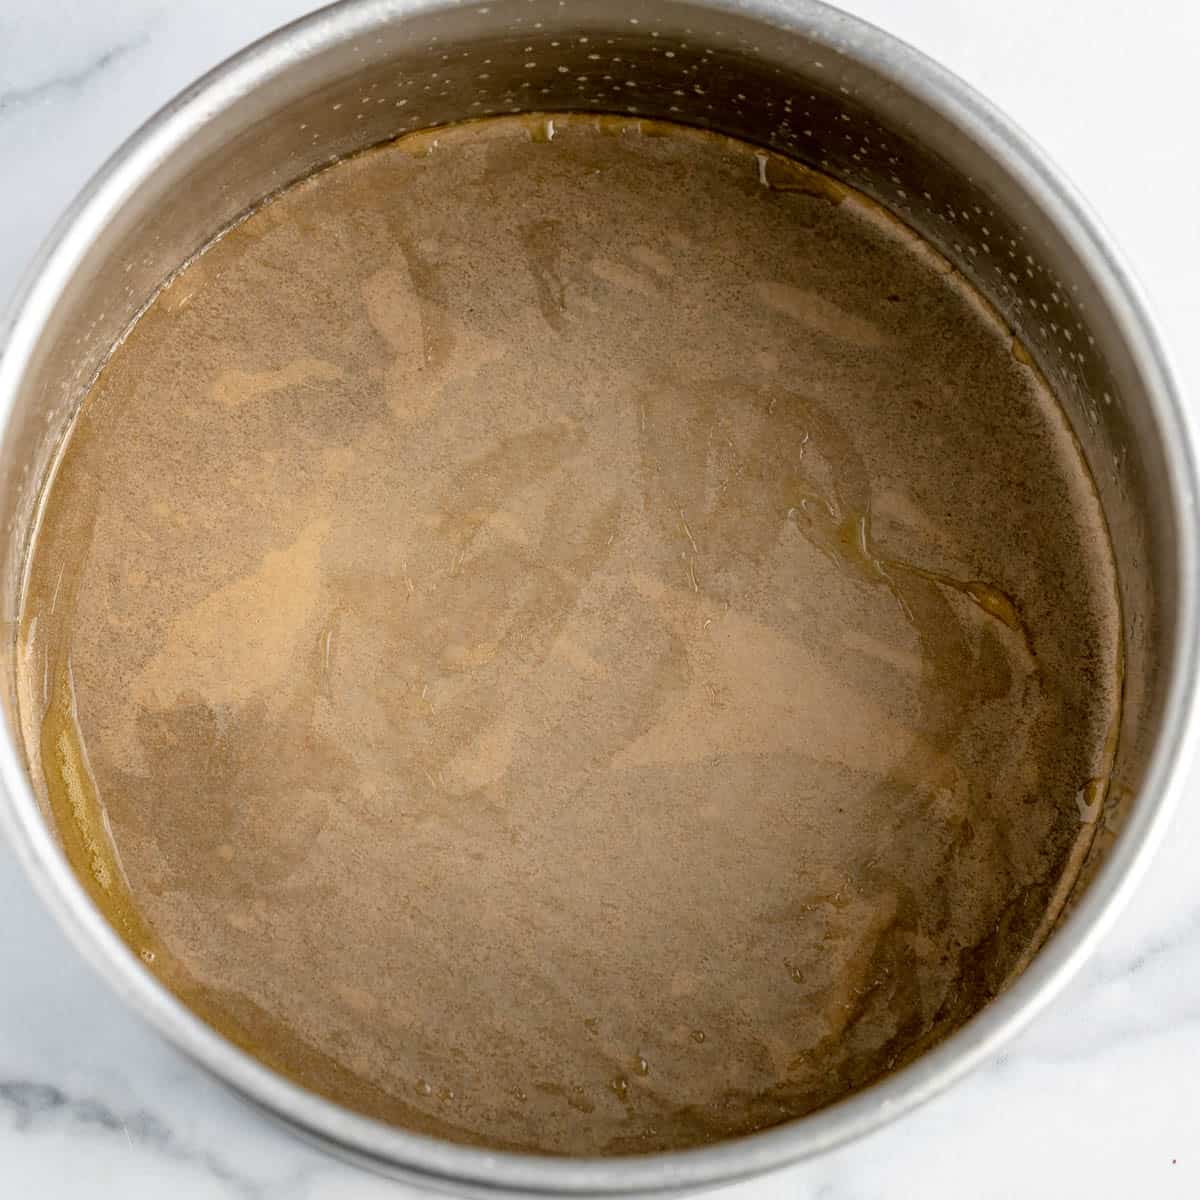
Step 4: Make A Water Bath
Place unbaked cheesecake into a larger pan–this can be a 10″ cake pan or a roasting pan.
Fill the roasting pan with hot water until it reaches about halfway up the sides of the 8-inch cake pan. Don’t fill it too high, or the water can spill into the cheesecake.

Step 5: Bake The Cheesecake
Place the pans in the preheated oven and bake for 1 hour and 5 minutes. The cheesecake is done when the edges are set and slightly puffed, and the center still has a gentle jiggle with no cracks. Turn off the oven.
Step 6: Cooling
With the cheesecake still in the oven, crack the oven door open for 1 minute, then close it. Let the cheesecake sit in the warm oven for 1 hour.
After an hour, carefully remove the cheesecake from the water bath and let it cool.
Refrigerate uncovered for at least 6 hours, or preferably overnight.
Removing The Cheesecake From The Pan
If you’re using a springform pan, run a knife around the edge of the cake and simply release the clasp and gently lift the ring away from the cake.
But if you are using a cake pan without a removable bottom, follow these steps:

Remove the cake from the fridge and run a thin, sharp knife around the edge between the cake and the pan to loosen. Make sure to get all the way down to the Oreo cookie crust.
Step 2:
Choose a pan that’s slightly bigger than your cheesecake pan, and add a couple of inches of very hot water.

Dip the bottom of the cheesecake pan in the hot water and hold for about 15-20 seconds. This will release the sides and bottom of the cake.

Cover the cake pan with a piece of plastic wrap and cover with an inverted dinner plate.

Carefully flip the pan upside down onto the dinner plate. The cake should slide right out—tap the bottom gently if it needs help.

Once the cheesecake is out of the pan, place your serving plate upside down on top. Flip it over so the cheesecake is right-side up again.
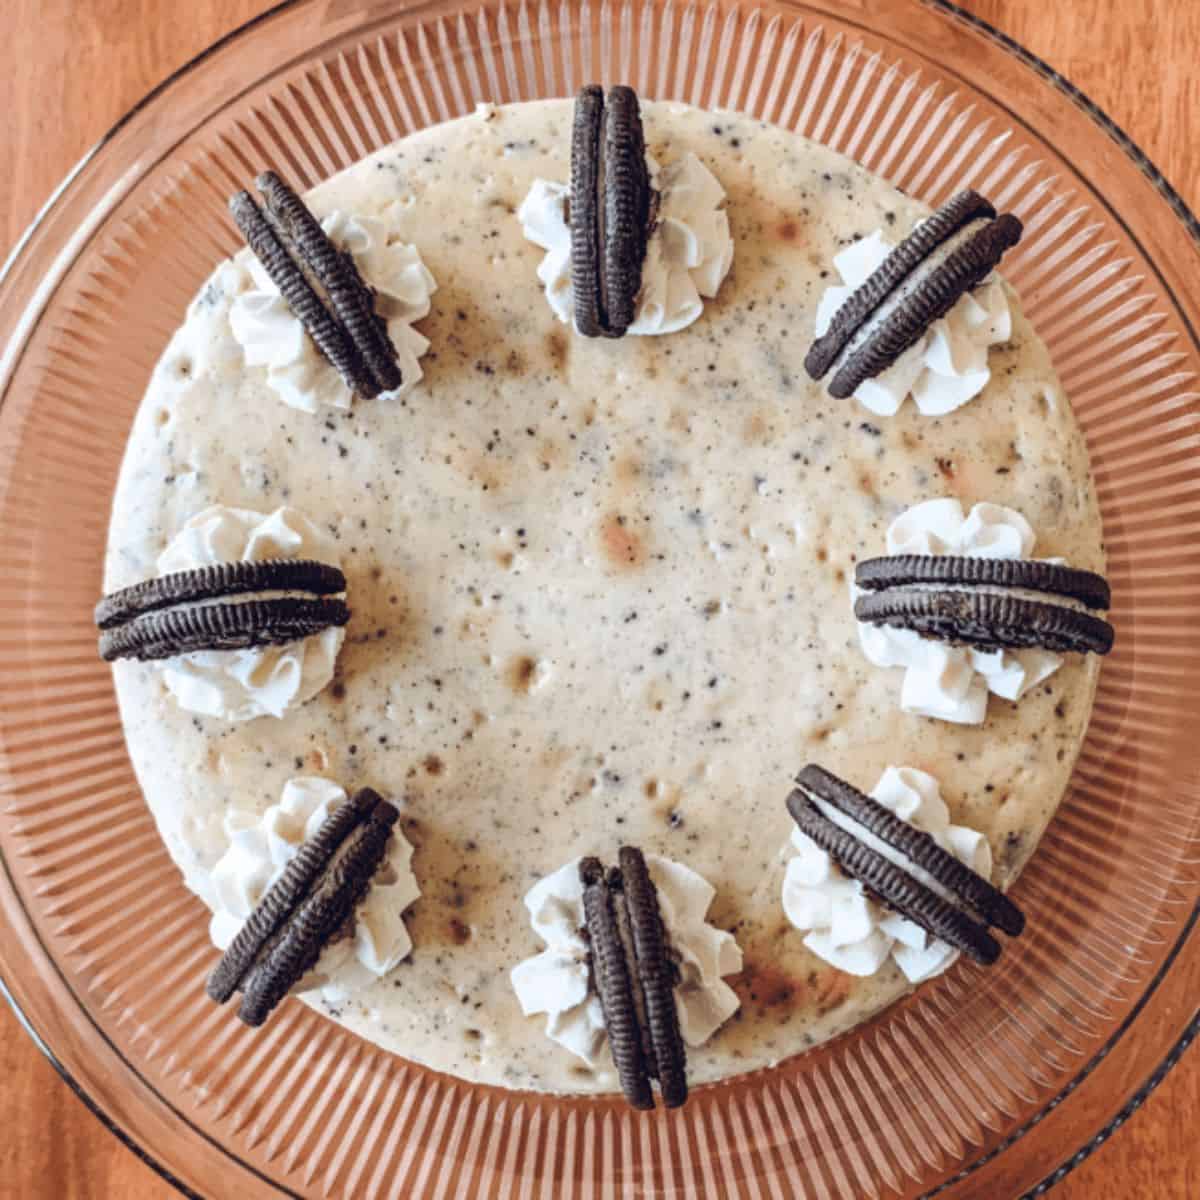
Decorate with whipped cream and leftover cookies and keep in the fridge until ready to serve (up to 2 days).
Expert Tips To Prevent Cracking

Top Tip: Do not skip the water bath during baking. This is a foolproof way to get your cake to bake evenly and prevent cracks. Cheesecakes need gentle, even baking, and the water bath provides that. Without a water bath, the cheesecake will rise high on the sides, crack, and sink in the middle.
- Use full fat products: Light sour cream and low-fat cream cheese contain more water and stabilizers, which can evaporate as the cheesecake bakes and lead to a drier texture.
- Avoid overbeating your eggs: Overmixing your eggs can lead to cracks, so I add them last when I make cheesecake batter.
- Let the cake sit in the oven as the temperature drops: This prevents a temperature shock to the cake. The edges cool faster than the center. If the cheesecake cools too quickly, the center and sides pull against each other, which can cause cracks.
Substitutions
- Sour cream: heavy cream or heavy whipping cream can be used instead of sour cream.
- Gluten-free option: Use gluten-free sandwich cookies instead of Oreos for both the crust and the filling.
Variations
- Graham cracker crust: You can swap the Oreos for 14 whole graham crackers, or use chocolate graham crackers instead. My peanut butter pie recipe will show you how to make a chocolate graham cracker crust.
- Chocolate ganache: Add a layer of ganache under the cheesecake filling (like in my Chocolate Chip Cheesecake recipe), or as a topping once it’s out of the pan.
Storing Your Cheesecake
The whole cheesecake can be made up to two days in advance. If you have leftovers, you can store slices up to five days in the refrigerator wrapped in plastic wrap or in an airtight container.
Freezing Instructions: Individual slices or a whole cake can be frozen for up to a month. Thaw completely in the refrigerator before serving.
More Oreo Dessert Recipes


More Cheesecake Recipes


Save This Recipe
Just enter your email below and we will send this recipe right to your inbox, plus we will send more yummy recipes and ideas.
Oreo Cheesecake Recipe
Ingredients
For the Oreo Cookie Crust
- 16 Chocolate Sandwich Cookies (Oreos)
- 5 tablespoons of butter, melted
For the Cheesecake Filling
- 3 (8oz) blocks of cream cheese, softened and room temperature
- 1/2 cup sour cream
- 1 cup granulated sugar
- 3 large eggs, room temperature
- 1 teaspoon vanilla extract
- 12 chocolate sandwich cookies crushed into small chunks.
Instructions
Prep The Cake Pan
- Preheat the oven to 350°F.
- Grease an 8-inch round cake pan with 3-inch-high sides using cooking spray or melted butter.
- Cut an 8-inch circle of parchment paper and place it in the bottom of the pan. Spray the parchment as well. Set aside.
Make The Crust
- In a food processor, pulse the cookies until very coarsely ground. You can also crush the cookies by hand using a zip top bag and a rolling pin.
- Add the melted butter and pulse until the crumbs are finely ground and evenly moistened.
- Pour the crumbs into the prepared pan. Use the bottom of a clean glass to press them firmly and evenly into the pan. Bake for 12 minutes at 350°F, or until you smell a light toasted chocolate aroma. Remove from the oven and set aside.
- Reduce oven temperature to 325°F.
Make The Cheesecake Filling
- In a stand mixer, beat the cream cheese until smooth. Add the sour cream and mix until fully combined and lump-free.
- Add the sugar and beat on medium low speed, stopping once to scrape down the sides of the bowl . Continue mixing until well combined, then stir in the vanilla extract.
- With the mixer on low speed, add the eggs one at a time, mixing thouroughly before adding the next egg.
- Stir in the crushed cookies by hand or on low speed just until combined. Do not overmix.
- Pour the batter over the crust. Gently tap the pan on the counter to release air bubbles. If any cookie pieces are poking through the surface, gently push them down into the batter to help prevent cracks.
Water Bath and Baking
- Place the unbaked cheesecake into a larger pan (a 10-inch cake pan or roasting pan works well). Fill the roasting pan with hot water until it reaches about halfway up the sides of the 8-inch cake pan. Don’t fill it too high, or the water can spill into the cheesecake.
- Place both cake pans into the preheated oven and bake at 325°F for 1 hour and 5 minutes, until the edges are set and slightly puffed and the center is gently jiggly (not cracked).
- Once the cake has baked, turn off the oven.
- Leave the cake in the oven and crack open the oven door for 1 minute. After a minute, close the door and let the cheesecake sit in the warm oven for 1 hour.
- After an hour, remove the cheesecake from the water bath and let it cool to room temperature. Once it's cooled, transfer the cake to refrigerator and chill (uncovered) for 6 hours, but preferably overnight.
Removing The Cheesecake
- After the cake has chilled, run a thin, sharp knife around the edge of the cheesecake, making sure to reach all the way down to the crust.
- Fill a pan slightly larger than the cheesecake pan with a few inches of very hot water. Dip the bottom of the cheesecake pan into the hot water for 15–20 seconds.
- Place a dinner plate lined with plastic wrap on top of the cheesecake pan. Flip the cheesecake onto the plate and gently tap or shake to release.
- Once released, place your serving plate upside down on the cheesecake and carefully flip it right-side up.
- Decorate with whipped cream and crushed cookies if desired. Keep refrigerated until ready to serve.
Notes
- Use full fat cream cheese and sour cream for the best results
- If you’re using a springform pan, double wrap the bottom with tin foil before placing the pan in the water bath. You can skip the cake removal steps in the recipe card.
- Leftovers need to be refrigerated and covered with plastic wrap. Leftover cheesecake will stay good for up to 5 days.
- Freezing Cheesecake: slices or the whole cake can be frozen for up to one month if double wrapped in plastic. When you’re ready to serve, thaw in the fridge the night before.


You’re a girl after my own heart, skip the dipping in milk, go straight to cheesecake! Yummy!
This looks delicious! And husband would LOVE this!
So tasty!!! It’s a family fave for sure!!
This looks so amazing. I can’t think of a better combination than oreos and cheesecake. Yum!
Right?! It’s to die for!!
My husbands birthday is this weekend and he loves cookies and cream ice cream so this is great, as I’ve been wondering on how to incorporate the cookies without having a mess. What I have found with the springform pan is to have the water bath in a large square pan below the cheesecake pan and have it in the oven while it is preheating. I tried once with the foil trick and it ended in a soggy nasty mess. My grandfather taught me how to bake cheesecakes, but never used the water bath method, so when I started and began the water bath it was definitely unchartered territory for me.
The same thing happened to me when I used a springform pan! It’s such a bummer. That’s why I only use a regular 8 or 9″ cake pan with high sides with the water bath method now.
I hope the water under the cake trick works!! Let me know because I’ll have to give it a try! Happy Birthday to your husband, I hope you love the cake!
I put my springform pan inside a crockpot liner and fold the sides down. I then wrap it in foil before putting it in a water bath. This prevents any water from seeping in.
Crockpot liner! That’s genius!! I’m going to have to try that!!!