Boston Brown Bread Recipe
This post may contain affiliate links, see my disclosure policy for details.
Have you ever had canned bread? This is a classic New England recipe for dense, dark, slightly sweet Boston Brown Bread, made the traditional way: steamed in a can on the stovetop.

If you’ve spent any amount of time in New England, you already know about Boston Brown Bread and you’ve probably seen those red cans of B&M Boston Brown Bread on the grocery shelves. It’s one of those old-fashioned staples that never really goes away.
As a Maine food blogger with 20 years of cooking experience, I tested this recipe multiple times to make sure it’s as authentic as you can get at home. Made with traditional New England ingredients like rye flour, cornmeal, and molasses, this bread is straightforward to make and comes out dense, dark, and perfectly moist every single time.
I’ve also included oven instructions if you don’t have cans or a stockpot big enough. But I’d encourage you to try the traditional method at least once. It’s easier than it sounds, and it’s fun for the kids!
What Is Boston Brown Bread?
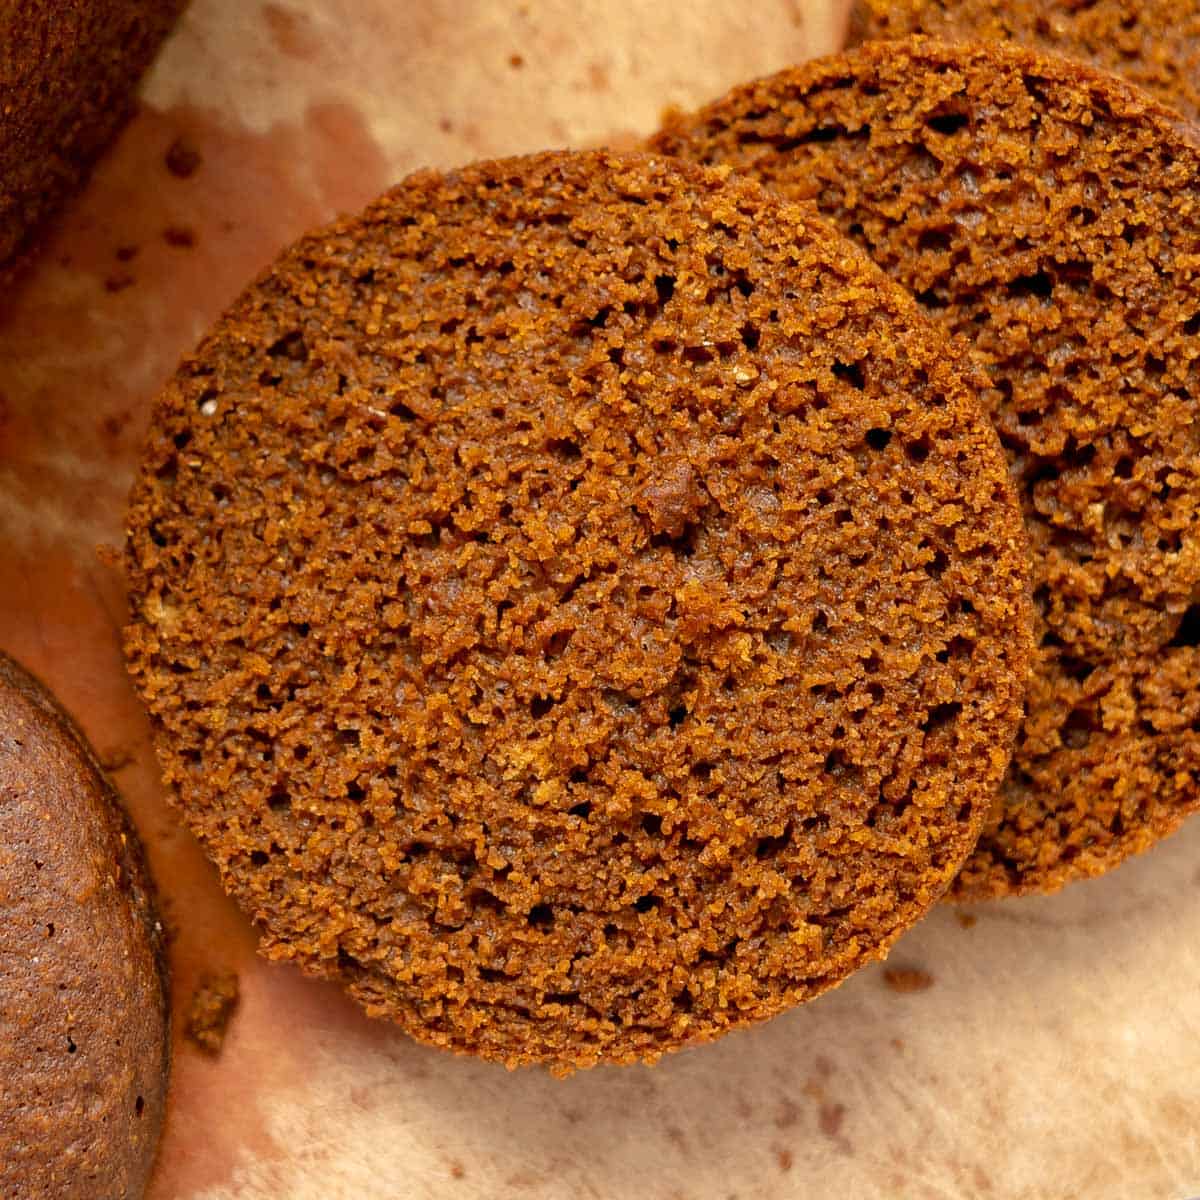
Brown bread is an old-fashioned New England quick bread made with rye flour, whole wheat flour, and cornmeal. Back in Puritan-era New England, wheat was difficult to grow, so bakers leaned heavily on rye and cornmeal instead. The result is a bread that’s dense, dark in color, and has a slightly coarse, but hearty texture, nothing like a fluffy sandwich loaf.
Why Is Brown Bread Steamed in a Can?
Early New England homes often didn’t have ovens, so brown bread was cooked in covered cans or tins set over the fire or in the hearth. The batter is more like a quick bread batter than a yeast dough, it needs the structure of a can to hold its shape while it cooks. Steaming also gives the dense batter a gentler, heat than direct flame, which helps it to cook more evenly.
Why You’ll Make This Recipe More Than Once
- Two methods included. Steam it the traditional way in a can, or bake it in a loaf pan. I’ve tested both so you know exactly what to expect either way.
- Easy-to-find ingredients. No specialty store required. Rye flour, whole wheat flour, cornmeal, molasses, most of it is already in your pantry, and the rest is at any grocery store.
- Tested until it was right. The ratio of flours, the leavening, the moisture level, I worked through this until the texture and flavor were exactly what they should be.
Ingredients
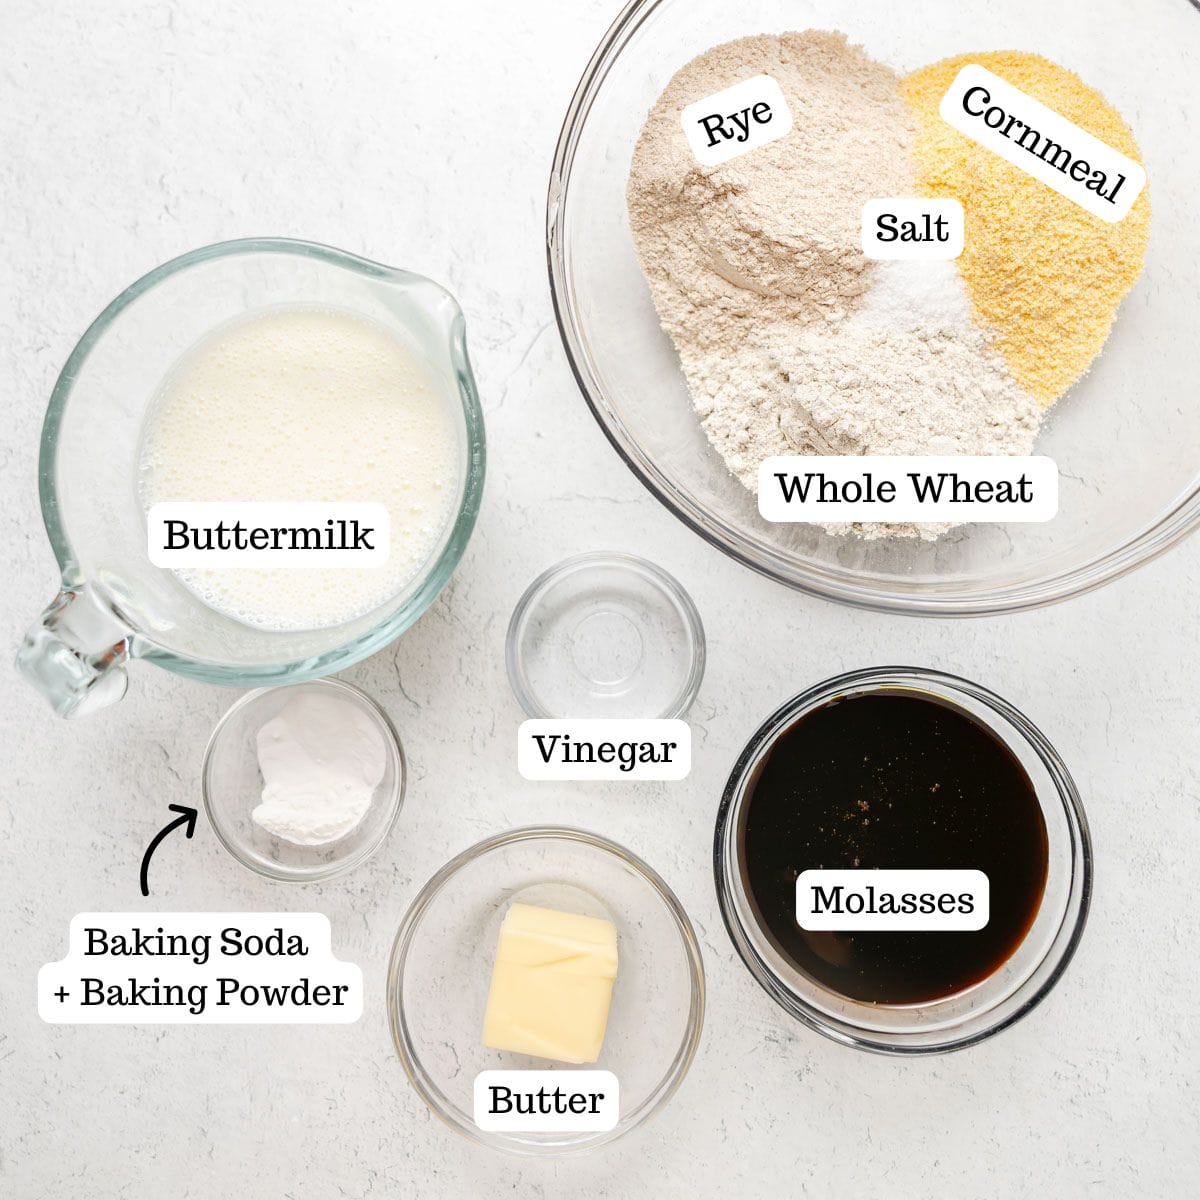
- Rye flour – The backbone of brown bread. Gives it that classic flavor and brown color. I use King Arthur medium rye flour because it’s the easiest to find.
- Whole wheat flour – Adds structure and a slightly sweet, nutty flavor that balances the rye. Old recipes called for “graham flour”, but whole wheat is the modern equivalent.
- Fine yellow cornmeal – Traditional, and it adds great texture. Use regular yellow cornmeal like you would for cornbread. Don’t use masa or corn flour.
- Baking soda + baking powder – These lighten the batter. The bread won’t rise much (it’s not supposed to), but the combination keeps it from being a brick.
- Salt – Balances the molasses and rounds everything out.
- Buttermilk – Adds moisture and reacts with the baking soda to help tenderize the bread.
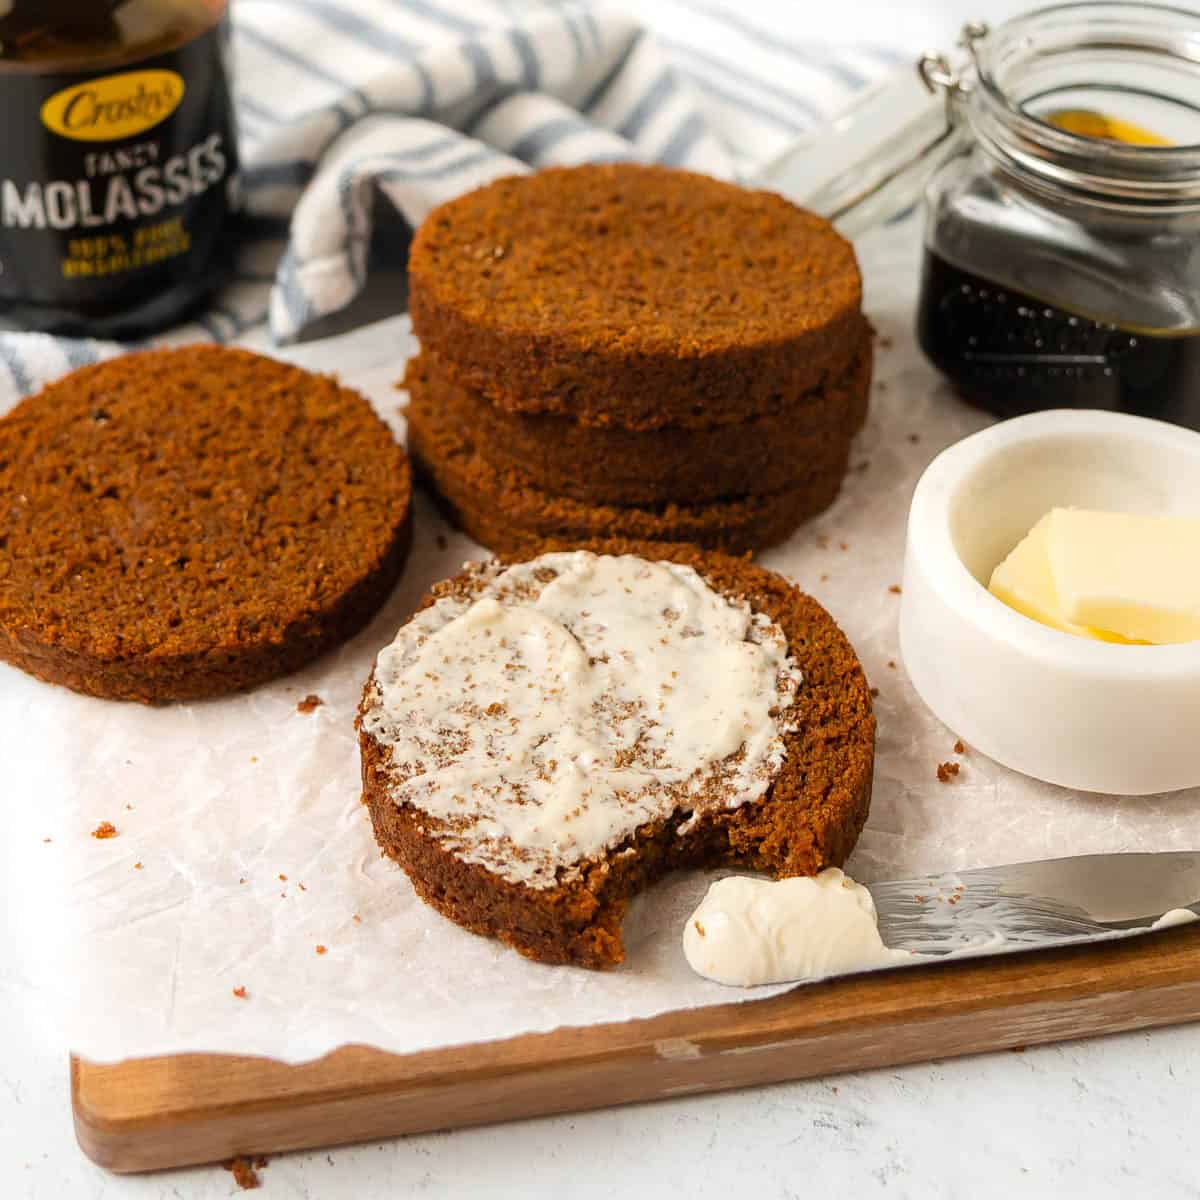
- Molasses – The main sweetener and what gives brown bread its color and deep, classic flavor.
- Butter (melted) – Not traditional, but it adds moisture to the crumb. You can skip it if you’re steaming.
- White vinegar – Helps neutralize the baking soda so you don’t get any metallic flavor.
- Raisins (optional) – Traditional in classic brown bread, but completely optional. If you’re using raisins, they’ll need to be soaked in water before adding to the batter. We don’t want the raisins stealing any of the moisture in the batter.
Equipment for Steaming
- Two 28-ounce cans: I use crushed tomato cans. Remove the labels, and make sure they’re clean and dry.
- Large stockpot: You’ll need one tall enough to hold about 3 quarts of water with both cans sitting inside.
- Steamer rack or trivet: I place a small trivet or steamer rack in the bottom (the one that came with my Instant Pot works perfectly) to keep the cans slightly elevated. This is optional if you don’t have one.
How to Make Brown Bread In A Can
Step 1
Spray two clean 28-ounce cans with cooking spray and set aside. Cut two pieces of foil and spray one side of each with cooking spray as well.
Fill a large pot with enough water to come about 2 inches up the sides of the cans and bring it to a boil.
Step 2
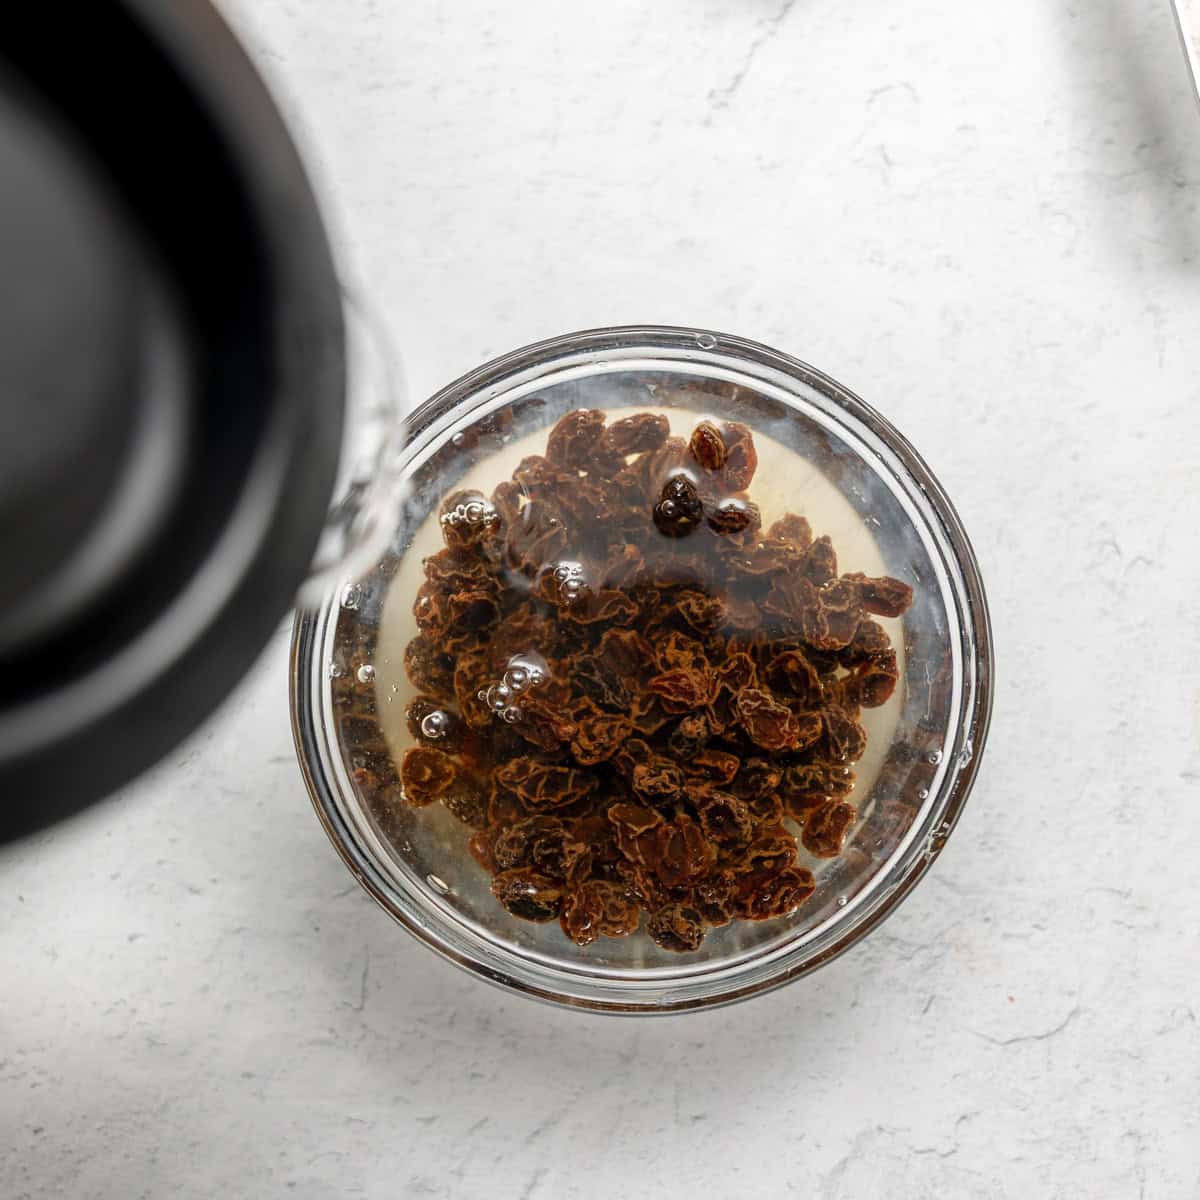
If using raisins: soak them in hot water for 15 minutes while you prep the batter, then drain and set aside.
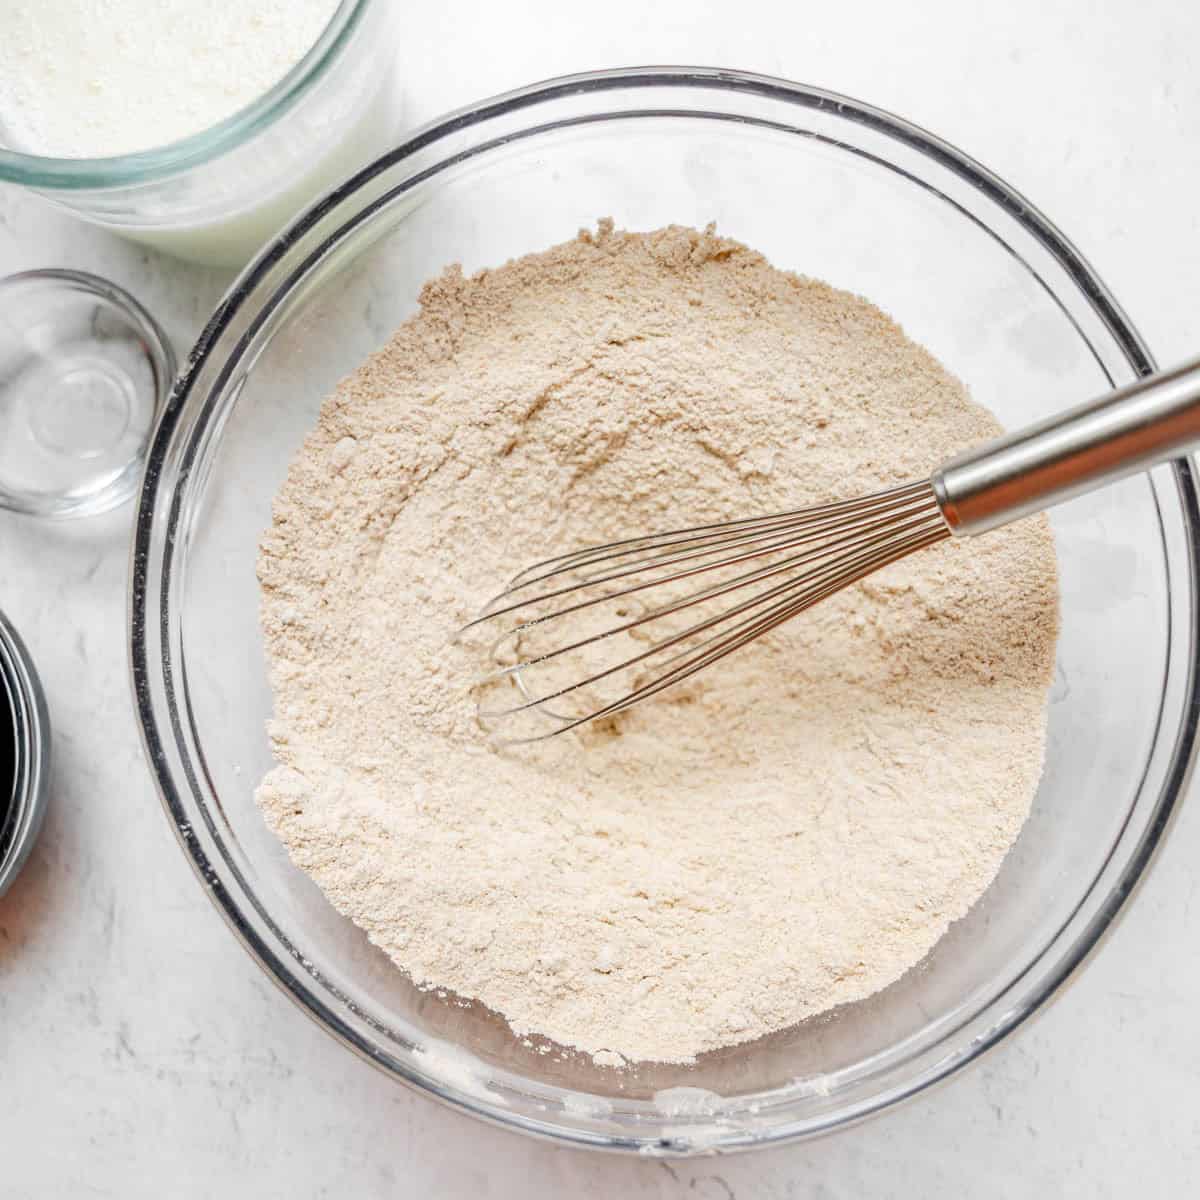
In a large bowl, whisk together the dry ingredients.
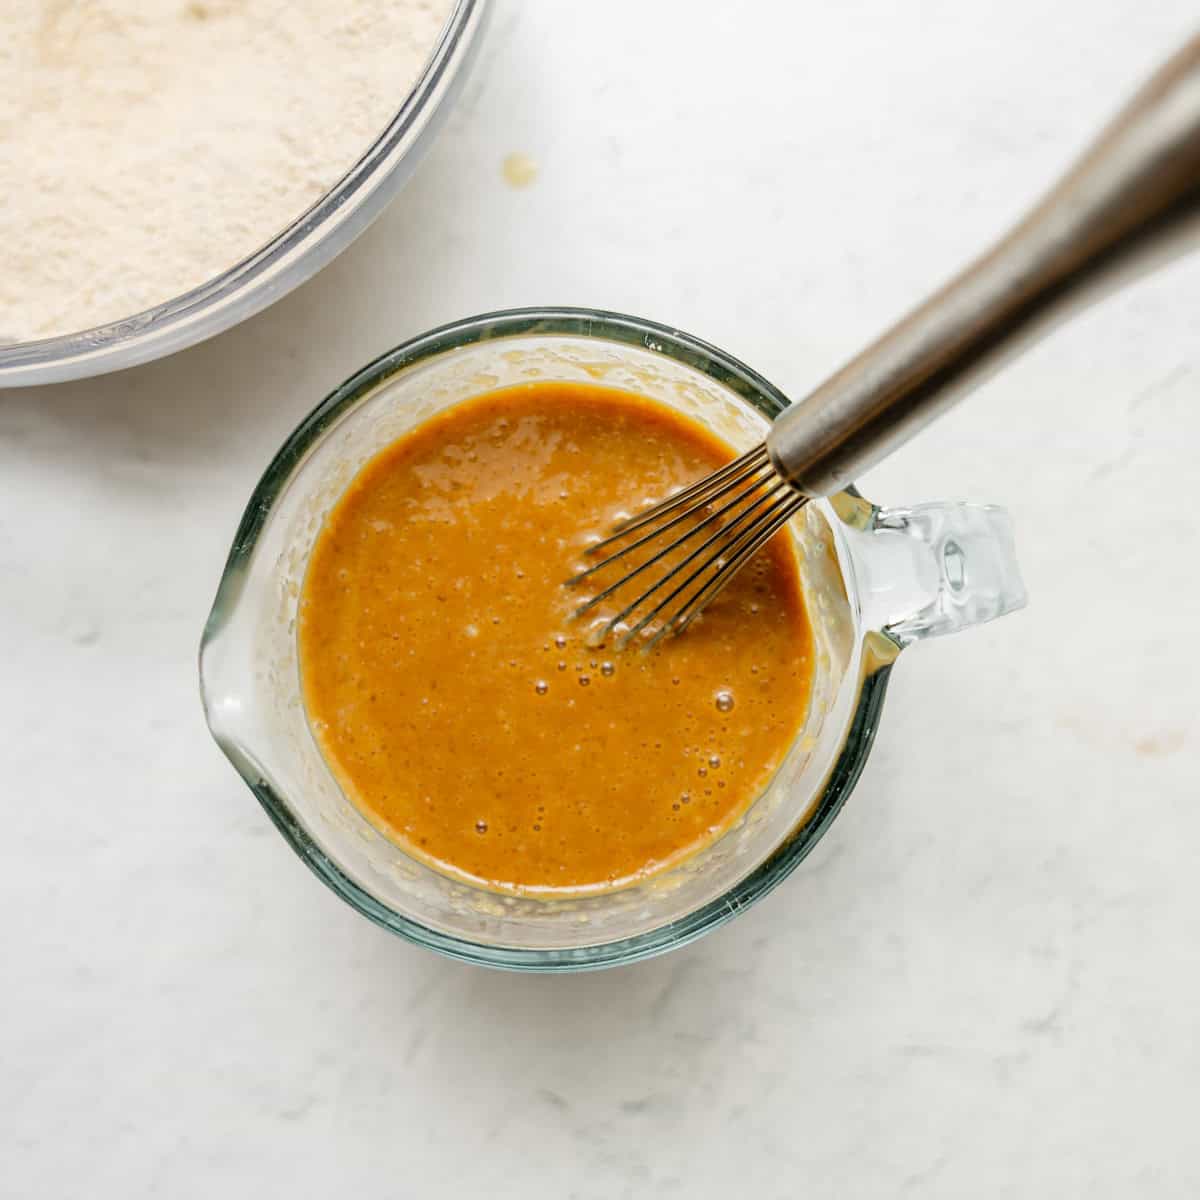
In a separate bowl, whisk together the wet ingredients.
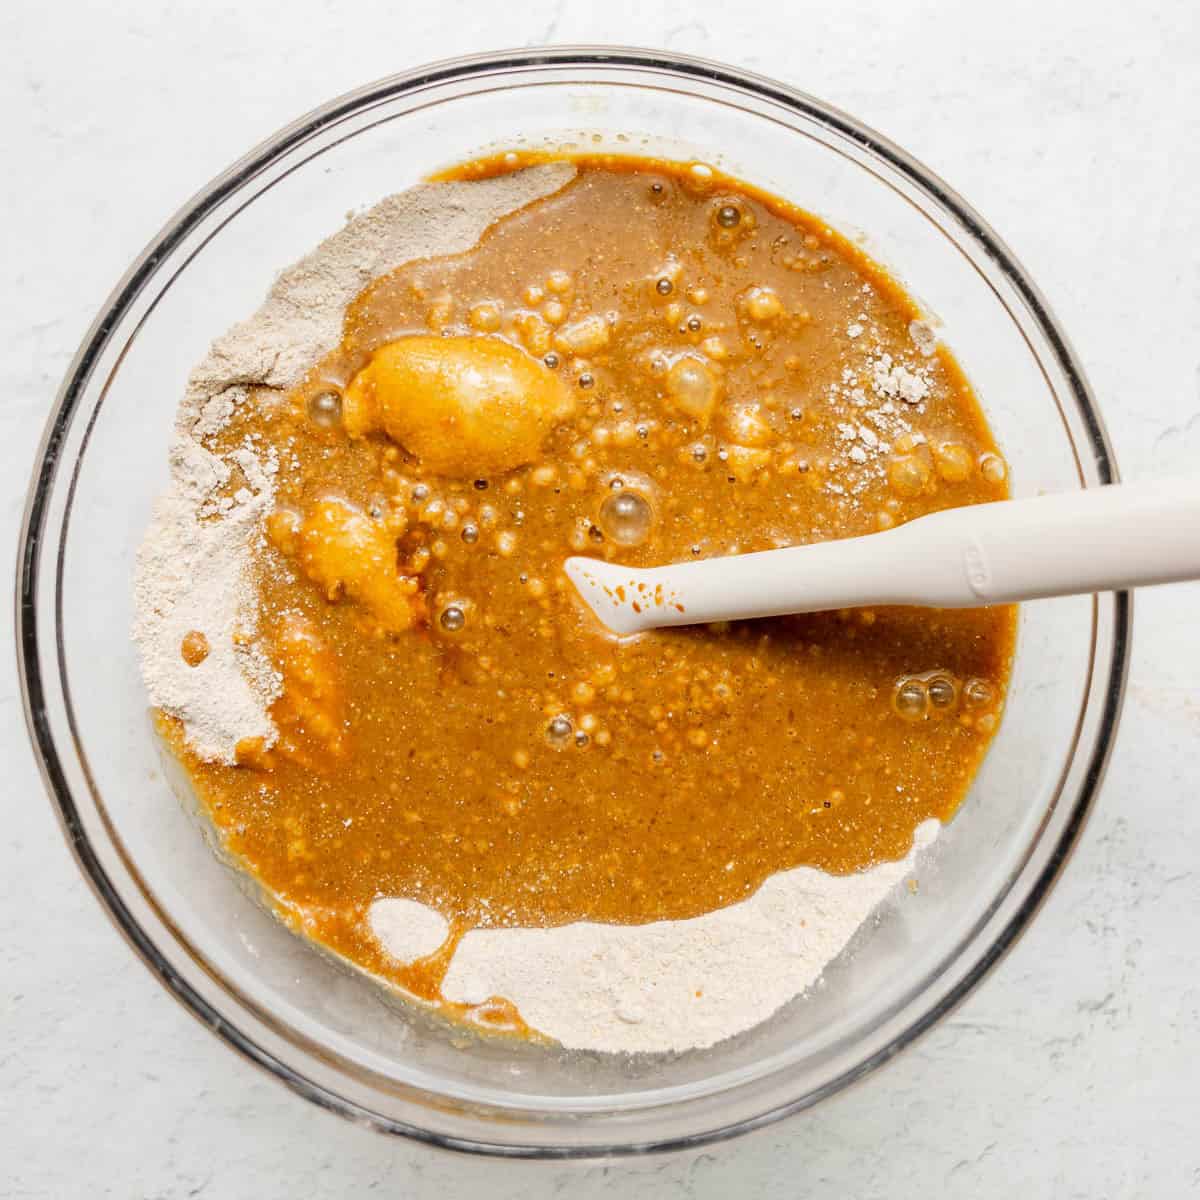
Pour the wet into the dry, (add the raisins if using).
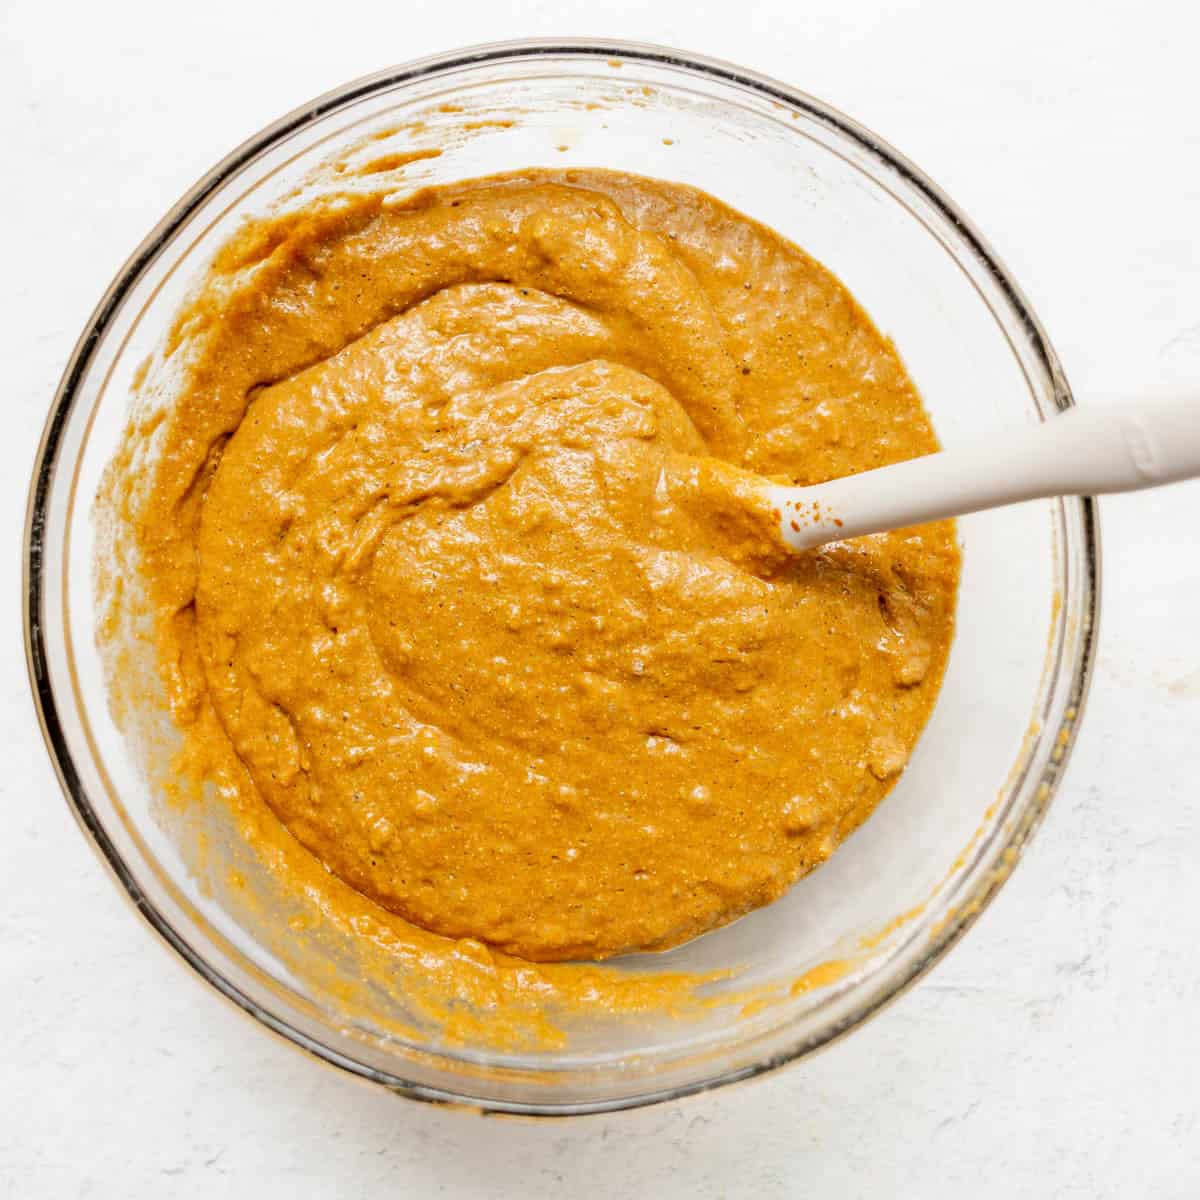
Stir just until no flour streaks remain.
Step 3
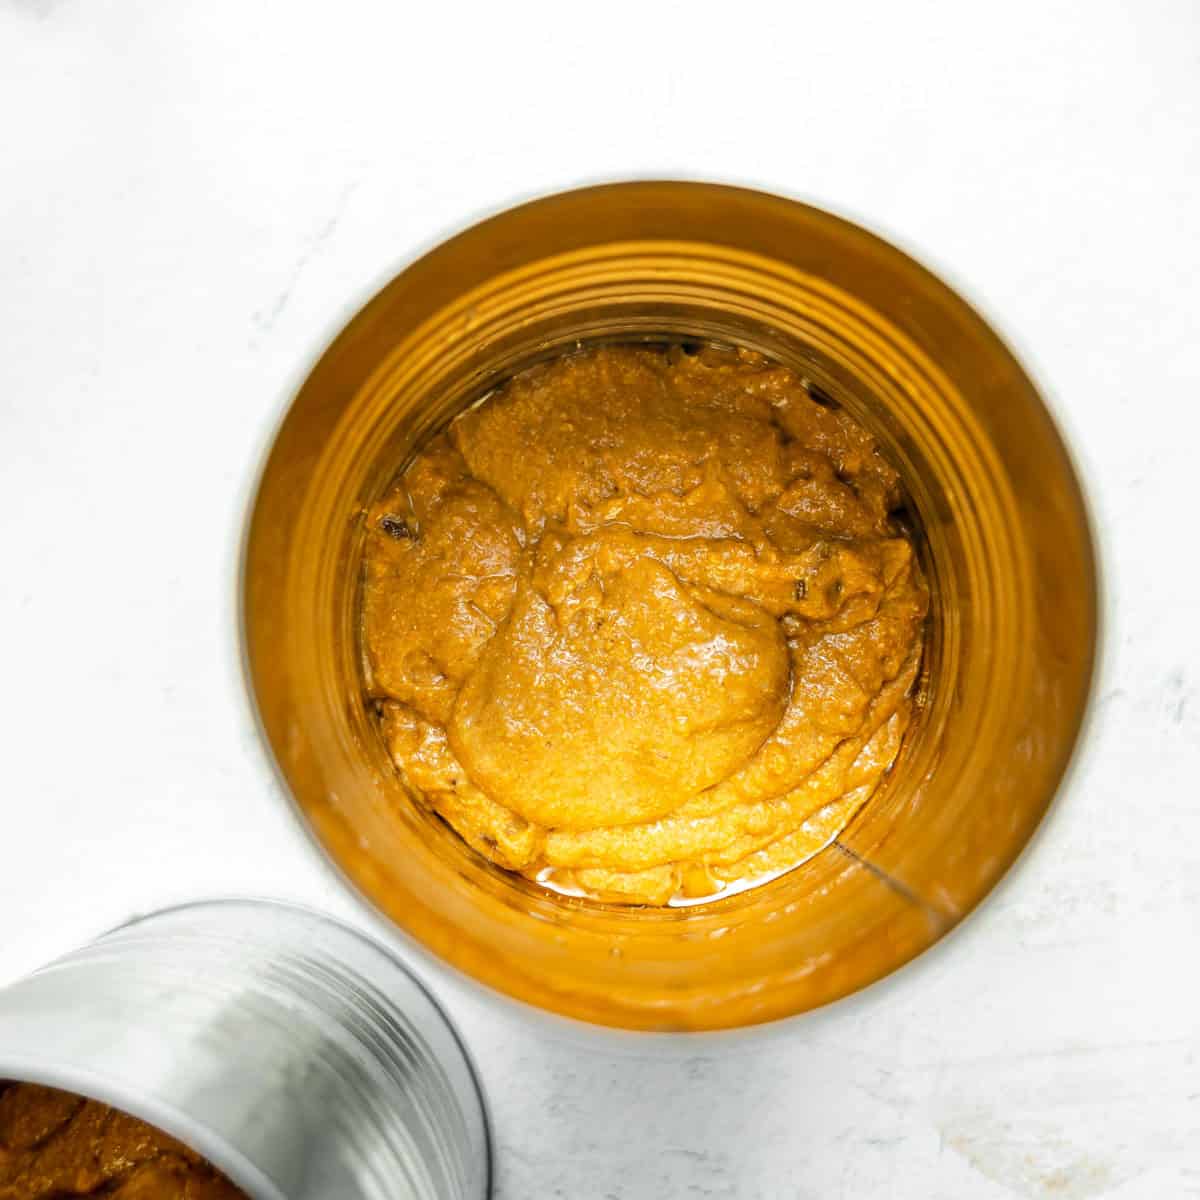
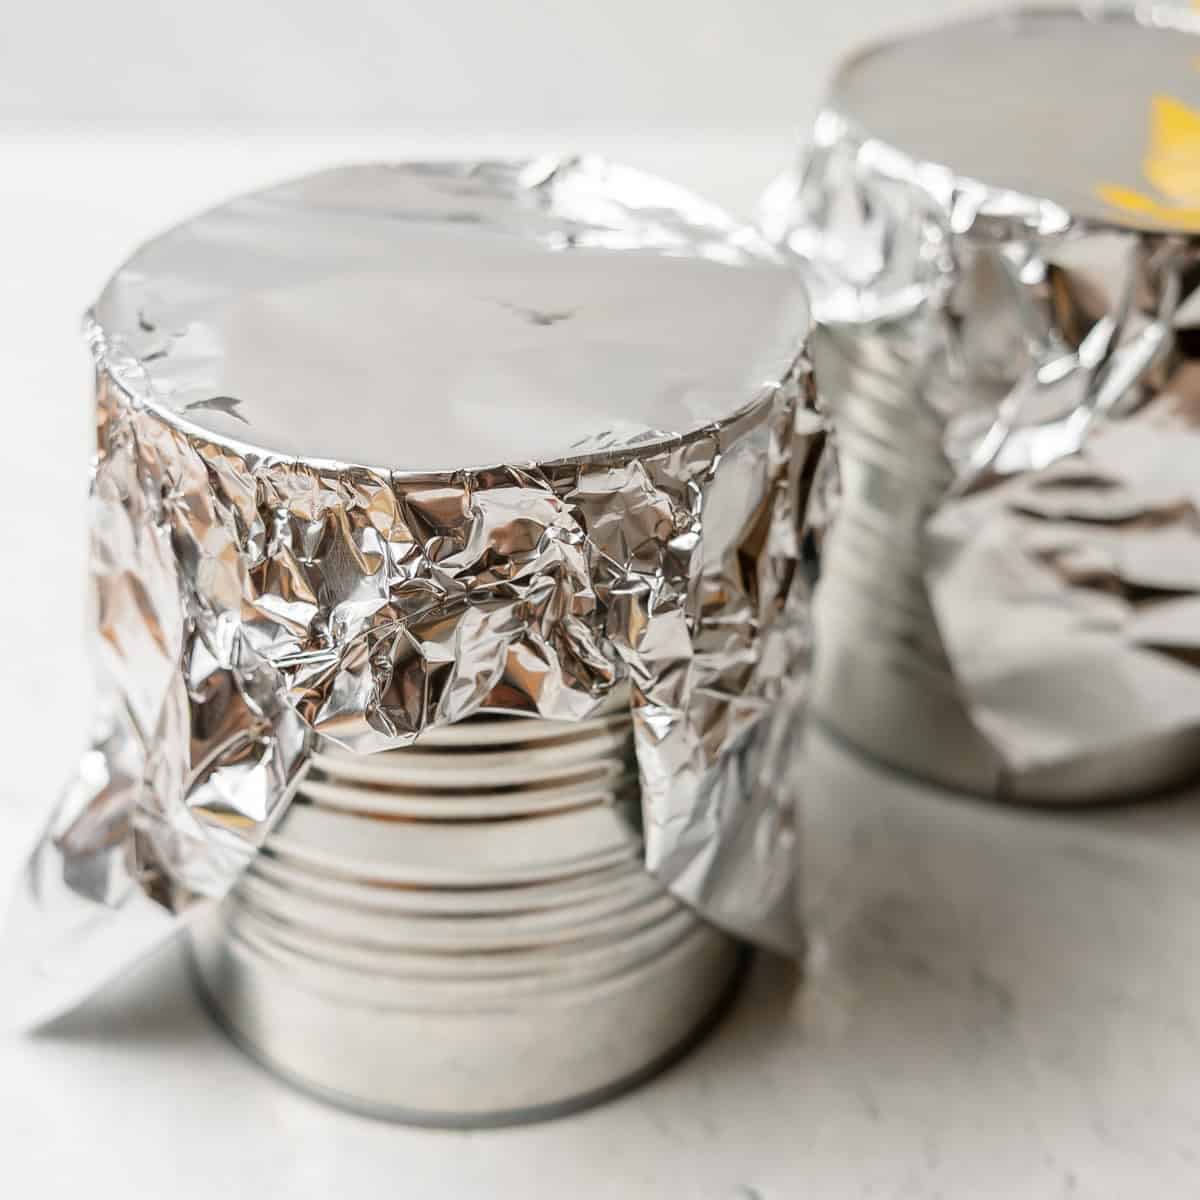
Divide the batter evenly between the prepared cans.
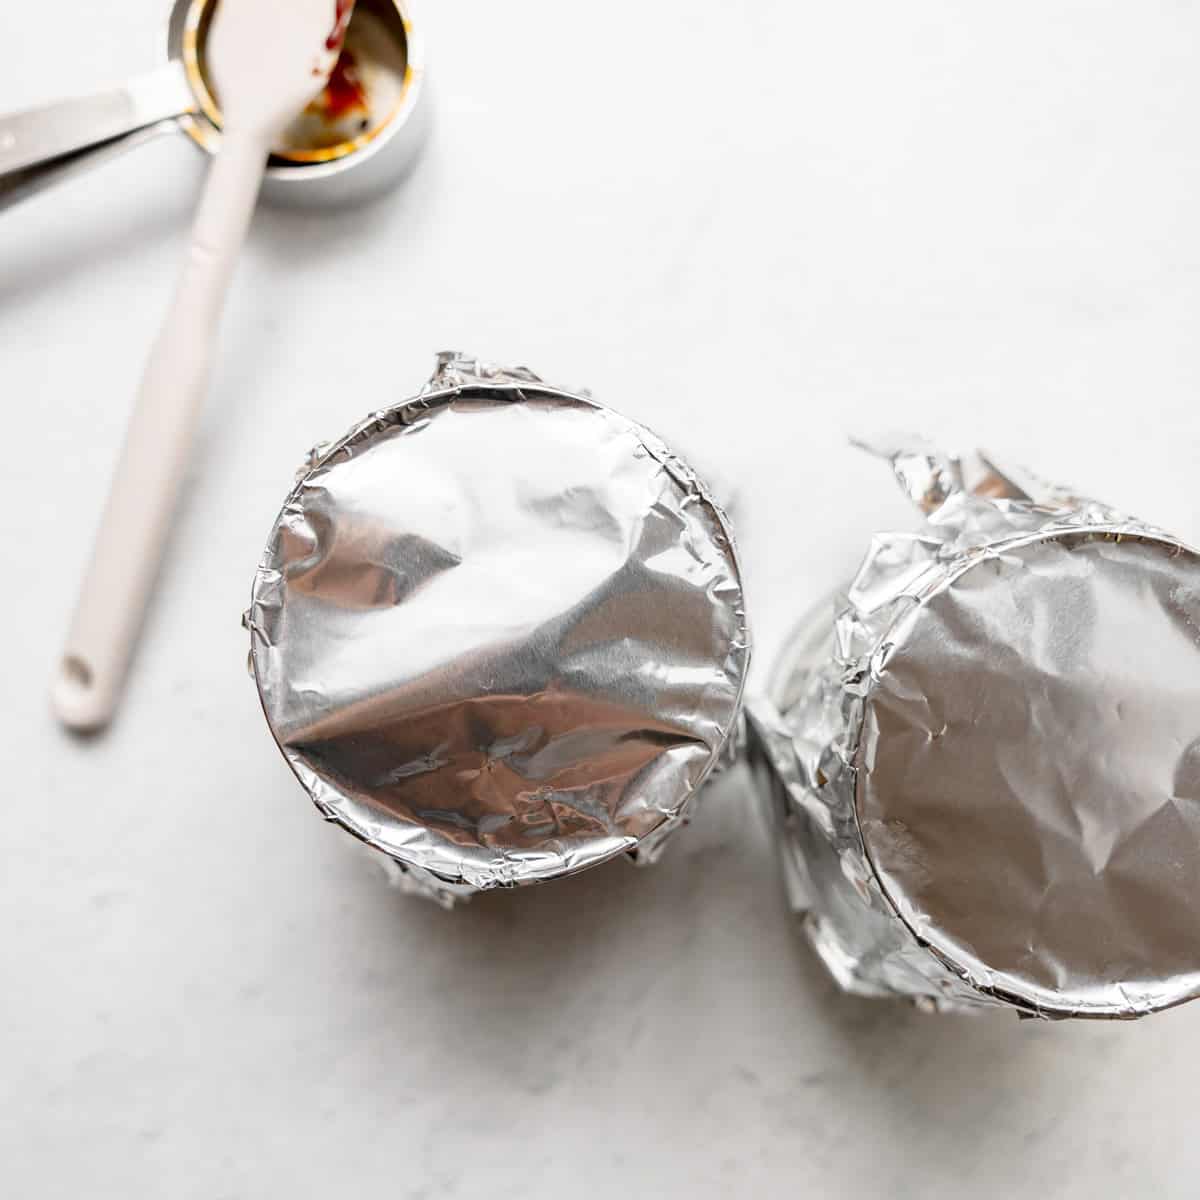
Cover each tightly with foil, greased side facing down toward the batter. Pinch the foil securely around the edges

Use tongs to carefully lower the cans into the boiling water. Reduce the heat to a simmer, cover the pot, and steam for 90 minutes, or until a skewer inserted in the center comes out with just a few light crumbs.
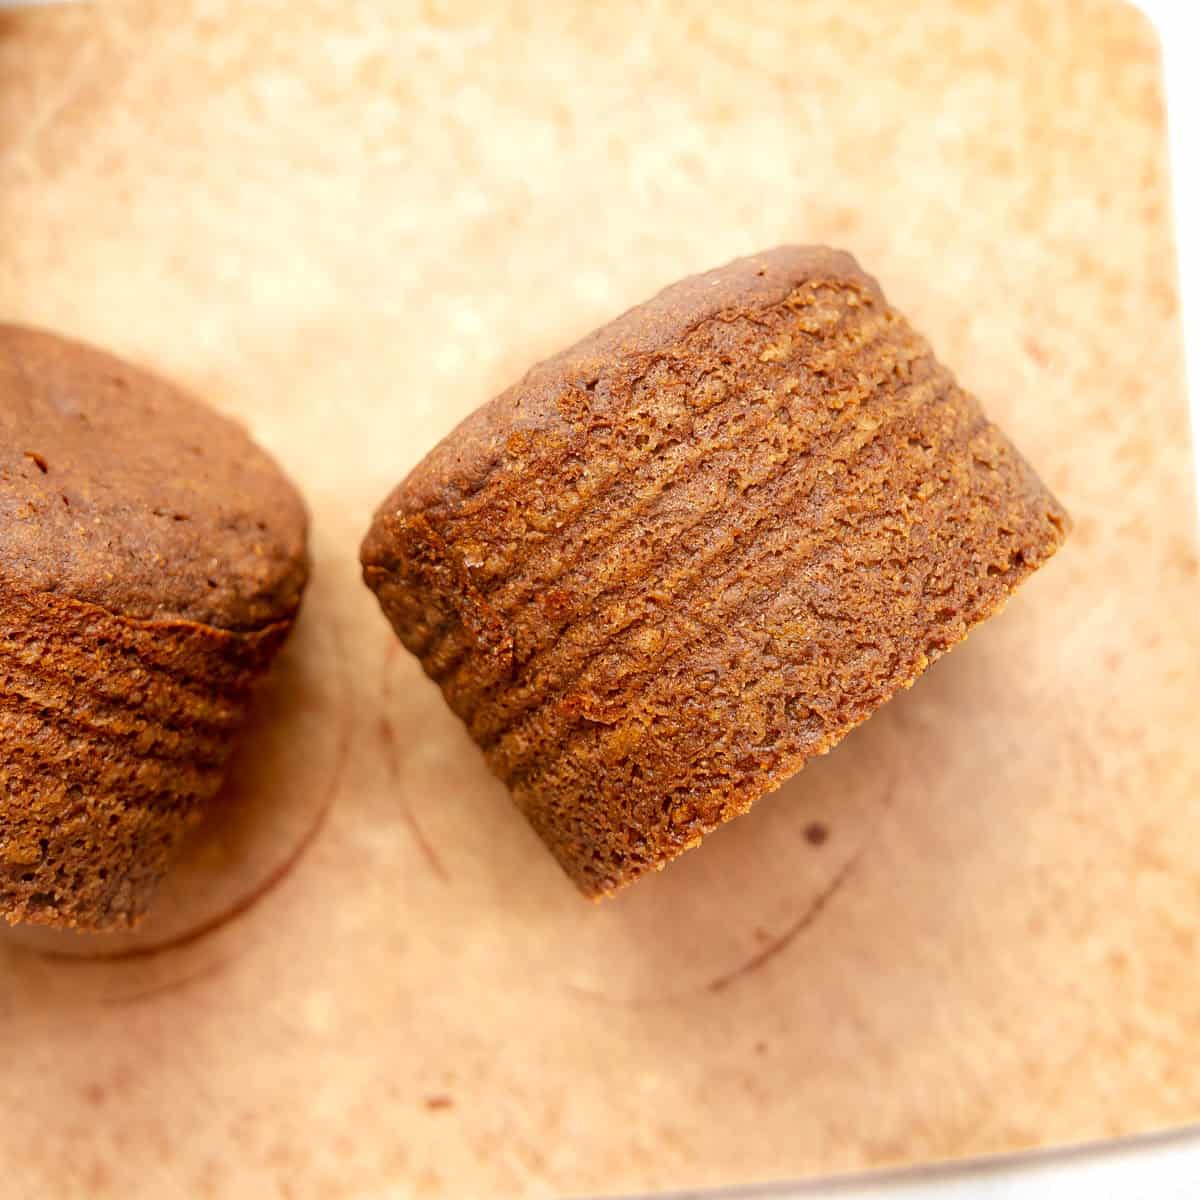
What to expect: The breads will be slightly risen with domed tops. They won’t rise too much, and the centers will sink in the middle. This is all supposed to happen!
Step 4
Remove the cans carefully and let them rest for 5 minutes. The bread should start pulling away from the sides slightly.
Slide the loaves out onto a cooling rack and let them cool completely before slicing.
How to Bake Brown Bread (Oven Method)
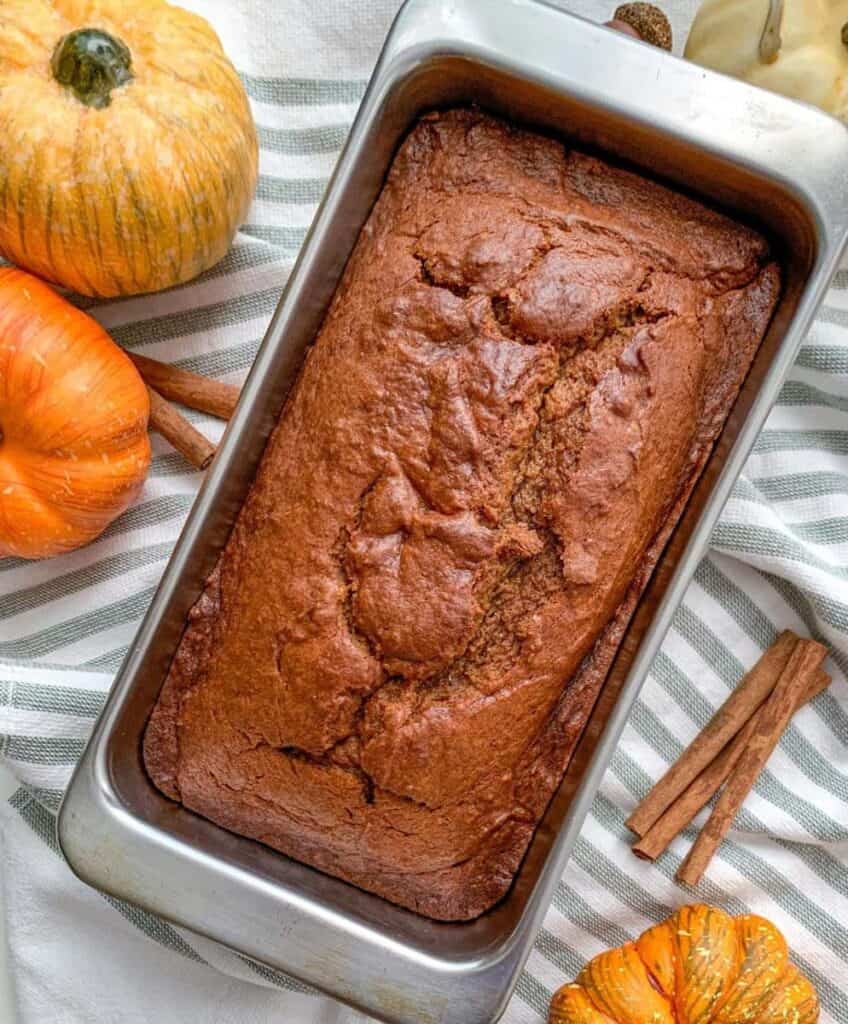
Preheat your oven to 350°F and spray an 8×4-inch loaf pan with cooking spray.
Pour the batter into the prepared pan and cover with foil, tenting it slightly so it doesn’t stick to the top. Bake for 45–50 minutes, or until a toothpick inserted in the center comes out with a few fudgy crumbs and the bread is pulling away from the sides.
Let it rest in the pan for 5 minutes before turning out onto a cooling rack.
Don’t stress if the center sinks a little or it doesn’t rise much, that’s completely normal. Brown bread is meant to be dense and flat.
Serving Suggestions
Brown bread is traditionally served alongside homemade baked beans, it’s a classic New England Saturday night combination. Beyond that:
- Alongside franks or red snappers (red hot dogs, for anyone not from around here)
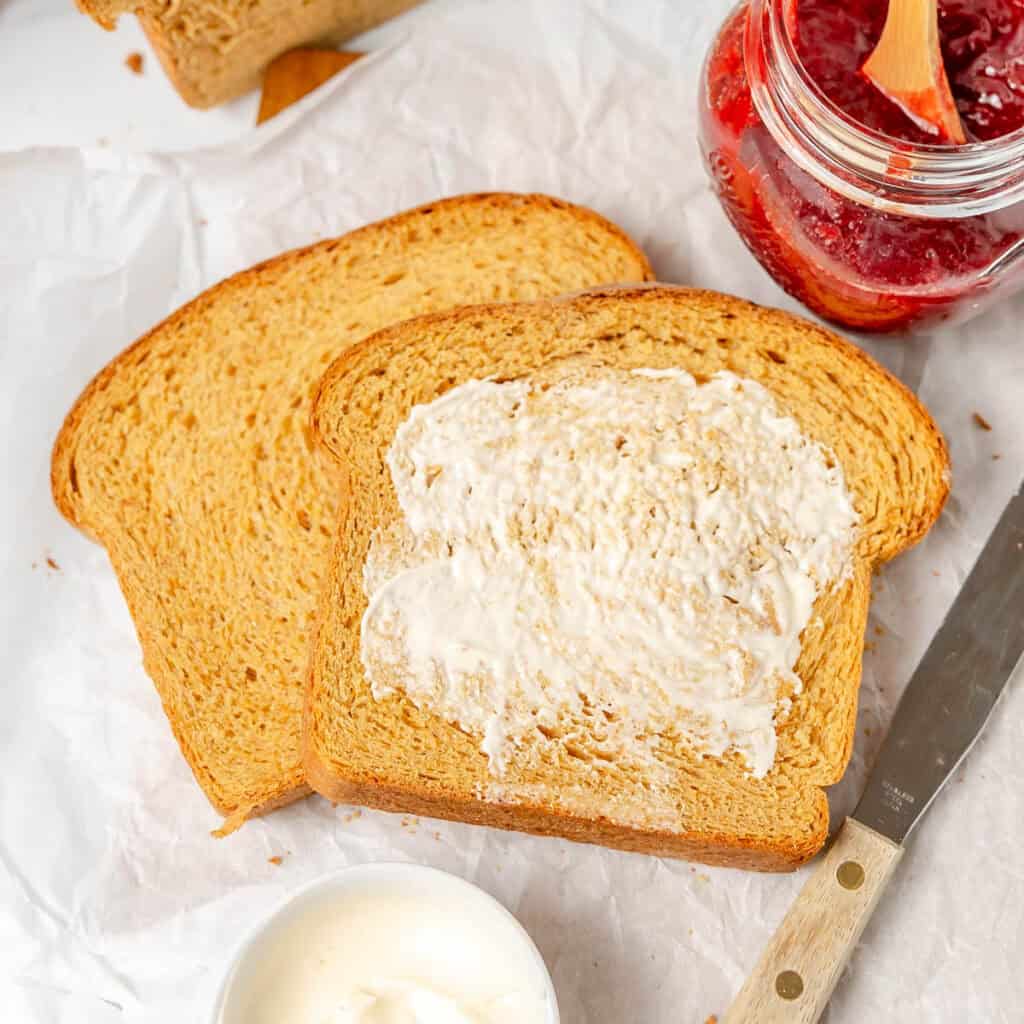
- Toasted with salted butter or whipped honey butter
- Serve sliced for breakfast with hashbrown casserole or crispy glazed bacon
- Serve alongside chowders like New England Clam Chowder, Corn Chowder, or Cod Chowder.
Storage
Store leftovers in an airtight container at room temperature for up to 4 days. Warm or toast slices before serving to bring them back to life.
To freeze: wrap individual slices or whole loaves tightly in plastic wrap and freeze for up to 3 months. Thaw before toasting.
More New England Bread Recipes


Save This Recipe
Just enter your email below and we will send this recipe right to your inbox, plus we will send more yummy recipes and ideas.
Boston Brown Bread Recipe
Equipment
- 1 12-qt stock pot
- 2 cans (28 oz each), cleaned with labels removed
- Steam rack (optional) This is for elevating the cans in the stockpot. It's not essential. I use the steamer rack from my Instant Pot. If you have one from canning, that works too!
Ingredients
- 1/2 cup rye flour (I use King Arthur's "medium rye flour")
- 1/2 cup whole wheat flour
- 1/2 cup fine yellow cornmeal (the same cornmeal used for cornbread)
- 3/4 teaspoons baking soda
- 1/2 teaspoon baking powder
- 1/2 teaspoon coarse Kosher salt
- 1 cup buttermilk
- 1/3 cup molasses
- 2 teaspoons of white vinegar
- 2 tablespoons unsalted butter, melted
- 1/2 cup raisins, optional
Instructions
- If using raisins: Place them in a small bowl and cover with hot water. Let the raisins soak for 15 minutes, then drain and set aside. Do this first so they're ready when you need them.
- Whisk the flours, cornmeal, baking soda, baking powder, and salt together in a large bowl.
- Whisk the wet ingredients together in a separate bowl. Pour the wet ingredients into the dry and stir until no flour streaks remain. Fold in the raisins if using.
Steaming In A Can
- Spray two clean 28-ounce cans with cooking spray. Cut two pieces of foil and spray one side of each. Fill a large pot with enough water to come about 2 inches up the sides of the cans and bring it to a boil. Place the steamer rack (if you have one) in the bottom of the stockpot.
- Divide the batter evenly between the two prepared cans, about 6.5 oz of batter in each. Cover each can tightly with foil, sprayed side facing down toward the batter. Pinch the edges firmly around the rim to seal. Use tongs to carefully lower the cans into the boiling water.
- Reduce the heat to a simmer, cover the pot, and steam for 90 minutes to 2 hours, until a skewer inserted in the center comes out with just a few light crumbs. Check the water periodically to maintain a simmer and to add more water if it's getting low.
- Once the breads are steamed, carefully remove the cans from the water and let them rest for 5 minutes. You should see the bread starting to pull away from the sides. Slide the loaves out onto a cooling rack and let them cool completely before slicing.
Baking Instructions:
- Preheat your oven to 350°F and spray an 8×4-inch loaf pan with cooking spray. Prepare the batter and pour it into the greased loaf pan.
- Cover the loaf pan with foil, tenting it slightly so it doesn't touch the top of the bread, and seal the edges tightly. Bake for 45 to 50 minutes, until a toothpick inserted in the center comes out with a few fudgy crumbs and the bread is pulling away from the sides.
- Let the bread rest in the pan for 5 minutes before turning it out onto a cooling rack. Don't worry if the center dips a little, that's completely normal. This bread is dense and moist by design, not light and fluffy, so it won't rise much. Allow the bread to cool before slicing.